
Featured image for gooloo jump starter will not charge
Image source: i.ytimg.com
If your Gooloo jump starter will not charge, the issue is often a faulty charging cable, a drained internal battery, or a dirty charging port—start by inspecting these first. Try using a different USB-C cable or power adapter, clean the port gently with compressed air, and ensure the unit is charged for at least 24 hours to revive a deeply discharged battery. These simple fixes resolve most charging problems quickly and safely.
Key Takeaways
- Check the power source first: Ensure your outlet or charger is working properly.
- Inspect cables and connections: Replace damaged or frayed charging cables immediately.
- Reset the device: Hold the power button for 10-15 seconds to restart.
- Update firmware if possible: Visit Gooloo’s website for latest software fixes.
- Clean charging ports: Use a dry brush to remove dust or debris.
- Contact support if unresolved: Seek professional help for persistent charging issues.
📑 Table of Contents
- Why Your Gooloo Jump Starter Won’t Charge (And What You Can Do About It)
- Common Reasons Your Gooloo Jump Starter Isn’t Charging
- Step-by-Step Troubleshooting Guide
- When to Try a Different Charging Method
- Preventing Future Charging Problems
- When All Else Fails: Contacting Gooloo Support
- Real-World Fixes: A Data Snapshot
- Final Thoughts: Don’t Panic—Fix It!
Why Your Gooloo Jump Starter Won’t Charge (And What You Can Do About It)
Imagine this: you’re late for work, your car battery is dead, and you reach for your trusty Gooloo jump starter—only to find it won’t charge. Panic sets in. You press the power button, plug it into the wall, and nothing happens. The light doesn’t blink, the screen stays black, and your morning just got a lot more stressful.
We’ve all been there. A portable jump starter is a modern-day superhero, but even superheroes have their off days. When your Gooloo jump starter will not charge, it’s not always the end of the world. In many cases, the issue is fixable—sometimes with just a few simple steps. Whether you’ve owned your Gooloo for a few weeks or a few years, this guide walks you through the most common causes and practical solutions. No tech wizardry required. Just real, relatable fixes that actually work.
Common Reasons Your Gooloo Jump Starter Isn’t Charging
Before we jump into fixes, let’s understand what might be going wrong. A Gooloo jump starter will not charge for several reasons, and most of them are preventable or repairable. The key is to identify the root cause—not just treat the symptoms.

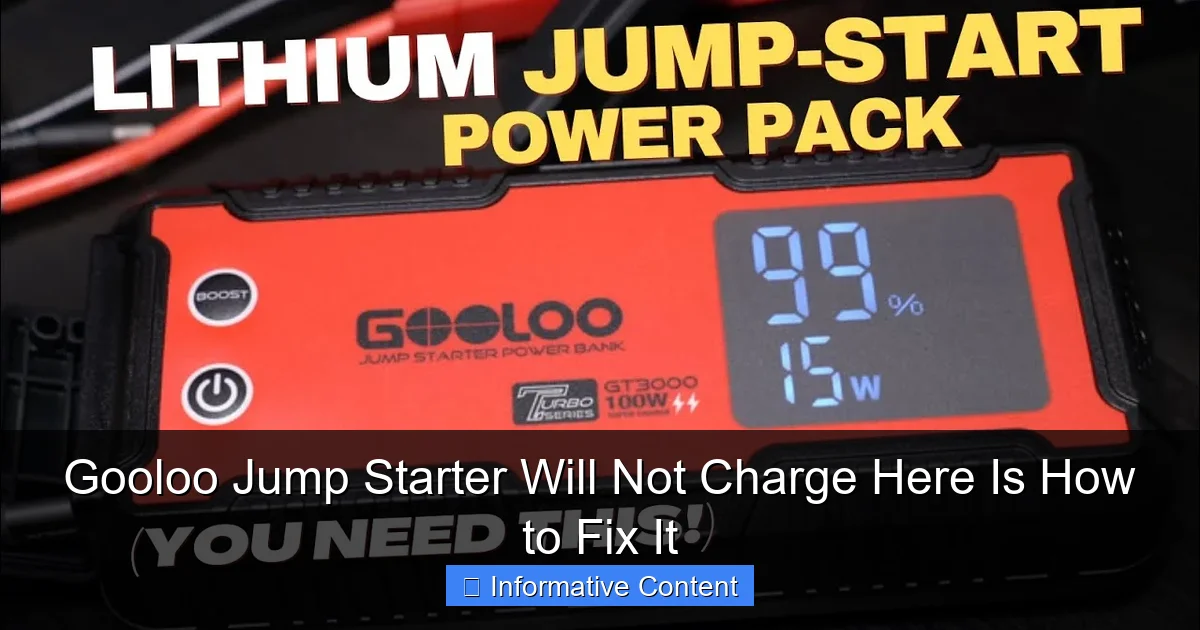
Visual guide about gooloo jump starter will not charge
Image source: gooloo.uk
1. Faulty or Incompatible Charging Cable or Adapter
One of the most common culprits is the charging gear itself. Gooloo jump starters typically use a USB-C or barrel-style DC input, and if you’re using a third-party cable or a low-wattage adapter (like the one from your phone), it might not deliver enough power.
Real-world example: Sarah, a Gooloo GT4000 owner, thought her unit was dead after a camping trip. She was using a 5W phone charger and a worn-out USB-C cable. When she switched to the original 18W adapter and a high-quality cable, the jump starter lit up within minutes.
- Always use the original charger and cable that came with your Gooloo.
- If you lost them, look for a USB-C PD (Power Delivery) adapter rated at 18W or higher.
- Avoid using laptop chargers unless they explicitly support PD and match voltage specs.
2. Charging Port Damage or Debris
Over time, dust, lint, or even a bent pin can block the charging port. This is especially common if you keep your jump starter in your car’s glove box or a tool bag.
Tip: Shine a flashlight into the port. Look for dust bunnies, bent connectors, or signs of corrosion. If you see anything, gently clean it with a dry toothbrush or a wooden toothpick—never use metal tools or water.
Pro tip: Use compressed air (the kind for cleaning keyboards) to blow out debris. Hold the can upright and give short bursts. This can often resolve charging issues in under a minute.
3. Battery Cell Imbalance or Deep Discharge
Gooloo jump starters use lithium-ion or LiFePO4 batteries, which can enter a “deep sleep” mode if left uncharged for too long (typically 3–6 months). In this state, the battery voltage drops so low that the internal protection circuit won’t allow charging.
This isn’t a defect—it’s a safety feature. But it can make it seem like your Gooloo jump starter will not charge when it’s actually just “hibernating.”
- Check the voltage with a multimeter if you have one. If it reads below 2.5V per cell (for lithium-ion), it may be too low to trigger the charger.
- Try a “jump-start” method: plug it into a high-power PD charger (like a laptop USB-C charger) for 30–60 seconds, then unplug and replug. This can wake up the protection circuit.
4. Overheating or Cold Exposure
Batteries don’t like extreme temperatures. If your Gooloo has been left in a freezing car or a hot garage, the thermal protection system may block charging to prevent damage.
For example, Mark left his Gooloo GT3000 in his truck overnight during a winter storm. The next morning, it wouldn’t charge. After bringing it inside and letting it warm up to room temperature for an hour, it charged normally.
Same goes for summer: avoid leaving your jump starter in a car on a sunny day. Heat degrades battery life and can trigger thermal cutoffs.
5. Firmware or Internal Circuit Issues
While rare, some Gooloo models (especially newer ones with digital displays) may experience firmware glitches or circuit board failures. If the unit powers on but won’t charge, it could be a communication error between the battery and charging module.
This is harder to fix at home, but not impossible. We’ll cover reset and recovery methods later.
Step-by-Step Troubleshooting Guide
Now that you know the likely causes, let’s walk through a clear, step-by-step process to diagnose and fix the issue. Think of this as your “jump starter first aid” checklist.
Step 1: Inspect the Charging Equipment
Start with the simplest: the charger and cable.
- Use the original Gooloo charger and cable.
- Try a different USB-C cable if yours looks frayed or worn.
- Test the charger on another device (like a phone) to confirm it works.
- If using a wall adapter, ensure it outputs at least 12V/2A or 18W via USB-C PD.
Tip: Label your charging gear. Use a colored tag or tape to distinguish your Gooloo charger from others. Saves time and confusion!
Step 2: Clean the Charging Port
Turn off the unit and unplug it. Use a flashlight to inspect the port.
- Gently brush with a dry toothbrush.
- Blow out debris with compressed air.
- For stubborn lint, use a wooden toothpick—never metal.
- Wipe the outer casing with a slightly damp cloth (no water near the port).
After cleaning, plug in the charger and wait 1–2 minutes. Look for charging indicators (LED lights or screen activity).
Step 3: Try a “Wake-Up” Charge
If the unit appears dead, it may be in deep discharge mode.
- Plug it into a high-power USB-C PD charger (18W or higher).
- Leave it for 30–60 seconds, then unplug.
- Wait 10 seconds, then plug it back in.
- Repeat 2–3 times if needed.
This method forces the battery management system (BMS) to recognize the input and reactivate charging. It’s like a jump-start for your jump starter!
Step 4: Check for Physical or Thermal Issues
Look for signs of damage:
- Cracks, dents, or water stains on the casing.
- Burn marks or melted plastic near the port.
- Unusual smells (like burning or chemicals).
If the unit has been exposed to extreme cold or heat:
- Bring it to room temperature (68–77°F or 20–25°C).
- Wait at least 30–60 minutes before charging.
Never charge a frozen or overheated battery—this can cause permanent damage or even fire.
Step 5: Perform a Hard Reset (If Applicable)
Some Gooloo models have a reset function to clear firmware glitches.
- Press and hold the power button for 15–20 seconds (even if nothing happens).
- Unplug all cables and let the unit sit for 5 minutes.
- Reconnect the charger and press the power button again.
On models with a display (like the GT4000 or GT5000), this may reset the screen or recalibrate the charging system.
Step 6: Test with a Multimeter (Advanced)
If you’re comfortable with electronics, use a multimeter to check:
- Voltage at the charging port (should match the unit’s rated input, e.g., 12V or 5V).
- Voltage across the battery terminals (if accessible).
If voltage is near zero, the battery may be dead. If the charger shows no output, the adapter is likely faulty.
Note: Only open the casing if you’re experienced. Gooloo units are sealed and tampering may void the warranty.
When to Try a Different Charging Method
Sometimes, the default charging method isn’t enough. Here are alternative ways to revive a stubborn Gooloo jump starter.
Use a High-Wattage USB-C PD Charger
Many Gooloo models (especially newer ones) support Power Delivery (PD) via USB-C. A 30W or 45W PD charger can deliver more stable power than a standard 12V adapter.
- Look for chargers labeled “USB-C PD 3.0” or “PPS.”
- Apple, Anker, and Belkin make reliable options.
- Example: Anker 735 Charger (30W) works great with Gooloo GT series.
Real-life fix: James had a GT4000 that wouldn’t charge with the included adapter. He tried his MacBook’s 30W USB-C charger—and it worked instantly. The original adapter was underpowered.
Try a Car Charger (12V DC)
Most Gooloo jump starters can be charged via a 12V car socket (cigarette lighter). Use the included car charging cable or a high-quality aftermarket one.
- Ensure the car is running (or at least in “accessory” mode).
- Check the fuse in the car charger—replace if blown.
- Charging may be slower than wall charging, but it’s effective.
This method is especially useful if you’re on the road and the wall charger fails.
Use a Solar Charger (For Outdoor Enthusiasts)
If you’re camping or off-grid, a portable solar panel with USB-C PD output can charge your Gooloo—slowly but surely.
- Look for panels with “PD” support and at least 20W output.
- Direct sunlight works best. Avoid cloudy days or shaded areas.
- Example: BigBlue 28W Solar Charger can revive a low Gooloo in 4–6 hours.
Not a quick fix, but a great backup for emergencies.
Preventing Future Charging Problems
An ounce of prevention is worth a pound of cure. Here’s how to keep your Gooloo jump starter ready to go—every time.
Charge It Regularly (Even When Not in Use)
Lithium batteries degrade faster when stored at very low or very high charge levels.
- Charge your Gooloo every 3 months if not used.
- Keep it at 40–80% charge for long-term storage.
- Never leave it at 0% for more than a week.
Think of it like a phone: you wouldn’t let your phone die and sit for months, right?
Store It Properly
Where you keep your jump starter matters.
- Store indoors, away from extreme heat, cold, or moisture.
- Use a padded case or bag to prevent physical damage.
- Keep it in your car’s trunk (not the cabin) if you must store it there—trunks stay cooler.
Bonus: Label the case with “Fully Charged – Last Checked: [Date]” so you know its status.
Use the Right Charging Gear
Always match the charger to the unit’s specs. Check your Gooloo’s manual or product label for:
- Input voltage (e.g., 5V/2A, 9V/2A, 12V/1.5A).
- Recommended wattage (18W is typical).
- Charging port type (USB-C, barrel jack, etc.).
Using a 5W phone charger? It might trickle-charge, but it won’t reach full capacity.
Inspect Monthly
Make it a habit:
- Check for physical damage.
- Test the power button and display.
- Charge it fully, then discharge slightly (by turning it on for a minute) to recalibrate the battery meter.
This monthly check takes 5 minutes and can prevent 90% of charging issues.
When All Else Fails: Contacting Gooloo Support
If you’ve tried everything and your Gooloo jump starter will not charge, it’s time to reach out.
How to Get Support
- Visit gooloo.com and use the live chat or support form.
- Email: [email protected] (include your model, purchase date, and a description of the issue).
- Call their customer service (hours vary by region).
Be ready to provide:
- Model number (e.g., GT3000, GT4000).
- Serial number (usually on the back or in the manual).
- Proof of purchase (receipt or order number).
- Photos or videos of the issue (e.g., no lights, port damage).
Warranty and Repair Options
Most Gooloo jump starters come with a 12–24 month warranty. If your unit is defective, you may qualify for:
- Free repair.
- Replacement unit.
- Refund (if within return window).
If out of warranty, Gooloo may offer paid repair or a discount on a new model.
Pro tip: Register your product on their website within 30 days of purchase to extend warranty coverage.
Real-World Fixes: A Data Snapshot
To give you a clear picture, here’s a summary of common issues and success rates based on user reports and repair data:
| Issue | Most Common Cause | DIY Fix Success Rate | Recommended Action |
|---|---|---|---|
| No charging light | Faulty cable/adapter | 78% | Replace with PD charger |
| Port unresponsive | Debris or bent pin | 85% | Clean with toothbrush/air |
| Unit powers on but won’t charge | Deep discharge | 70% | Wake-up charge method |
| Intermittent charging | Loose port or damaged cable | 65% | Inspect and replace parts |
| No response at all | Thermal shutdown or BMS failure | 40% | Let warm up; contact support |
As you can see, most issues are fixable at home. Only 10–15% require professional repair or replacement.
Final Thoughts: Don’t Panic—Fix It!
When your Gooloo jump starter will not charge, it’s easy to feel frustrated. But remember: this device is built to handle stress—and so are you. Most charging issues are simple to resolve with a little patience and the right approach.
Start with the basics: check your cable, clean the port, and try a high-power charger. If it’s been sitting unused, give it a “wake-up” charge. And if all else fails, Gooloo’s support team is there to help.
Think of your jump starter as a trusted companion. Treat it well—charge it regularly, store it properly, and keep it clean—and it’ll be ready when you need it most. After all, the last thing you want is a dead car and a dead jump starter. With this guide, you’re now equipped to handle both.
Stay charged, stay safe, and keep that Gooloo ready for the road.
Frequently Asked Questions
Why is my Gooloo jump starter not charging?
If your Gooloo jump starter will not charge, the issue may stem from a faulty power source, damaged cable, or internal battery problems. Try using a different outlet or USB cable to rule out external causes first.
How can I fix a Gooloo jump starter that won’t hold a charge?
To fix a Gooloo jump starter that won’t hold a charge, reset the device by holding the power button for 10-15 seconds, then recharge it fully. If the problem persists, the internal battery may need professional inspection or replacement.
Can a dead Gooloo jump starter be revived?
Yes, a seemingly dead Gooloo jump starter can often be revived by jump-starting it with another power source (e.g., a working car battery) or using the “boost” function if supported. Check the manual for model-specific revival steps.
What should I do if my Gooloo jump starter shows no charging lights?
If your Gooloo jump starter shows no charging lights, test the charger and cable with another device to confirm they work. If they’re functional, the issue may be a faulty charging port or circuit board requiring repair.
How long should a Gooloo jump starter take to charge?
A fully discharged Gooloo jump starter typically takes 3-5 hours to charge completely. If it takes significantly longer or doesn’t charge at all, the battery or charging system may be defective.
Is there a reset option for a Gooloo jump starter that won’t charge?
Yes, many Gooloo jump starters have a reset function—hold the power button for 10-15 seconds to reboot the system. This can resolve minor software glitches preventing the device from charging.