
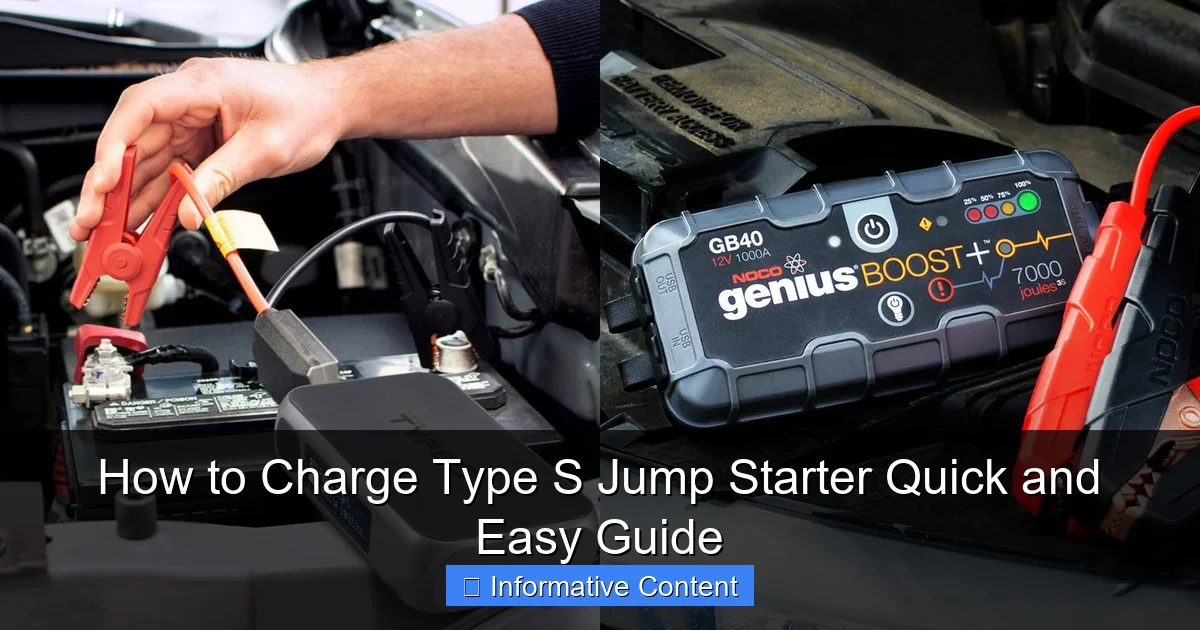
Featured image for how to charge type s jump starter
Image source: docerp.s3.amazonaws.com
Charge your Type S jump starter quickly and safely by using the included AC adapter or 12V car charger—always connect to a stable power source and avoid overcharging. Ensure the LED indicator turns solid when fully charged, typically within 2–4 hours, to guarantee peak performance when you need it most. Regular charging after each use extends battery life and ensures reliability during emergencies.
Key Takeaways
- Use the correct charger: Always match the Type S jump starter’s required voltage and amperage.
- Check battery level: Monitor LED indicators to avoid overcharging or deep discharge.
- Charge fully before first use: Maximizes battery lifespan and performance from the start.
- Store at 50% charge: Ideal for long-term storage to preserve battery health.
- Keep ports clean: Ensure dust-free connections for efficient charging and safety.
- Charge every 3 months: Prevents battery degradation if unused for long periods.
📑 Table of Contents
- Why Knowing How to Charge Type S Jump Starter Matters
- Understanding Your Type S Jump Starter
- How to Charge Type S Jump Starter: Step-by-Step Guide
- Charging Methods and Compatibility
- Common Charging Problems and How to Fix Them
- Best Practices for Maintaining Your Jump Starter
- Comparison of Charging Methods (Data Table)
- Final Thoughts: Keep Your Type S Jump Starter Ready
Why Knowing How to Charge Type S Jump Starter Matters
Imagine this: it’s a cold winter morning, you’re already running late for work, and your car won’t start. The headlights are dim, the engine just clicks—classic signs of a dead battery. You reach for your trusty Type S jump starter, but when you press the power button, nothing happens. Panic sets in. You’ve got the tool that could save your day, but it’s useless because you forgot one simple thing: how to charge Type S jump starter properly.
This scenario is more common than you think. Jump starters like the Type S are compact, powerful, and designed to rescue drivers from battery emergencies. But like any electronic device, they need regular charging to stay ready. Whether you’re a seasoned DIY mechanic, a weekend warrior, or just someone who wants to avoid roadside stress, knowing how to charge your Type S jump starter is essential. It’s not just about plugging it in—it’s about understanding the right method, avoiding mistakes, and extending the life of your device. In this guide, I’ll walk you through everything you need to know, step by step, so your jump starter is always ready when you need it most.
Understanding Your Type S Jump Starter
What Is a Type S Jump Starter?
The Type S jump starter is a portable lithium-ion-powered device designed to jump-start vehicles with dead batteries. Unlike traditional jumper cables that rely on another car’s battery, the Type S is self-contained. It includes a built-in battery, jumper clamps, LED lights, and often USB ports for charging phones and other devices. Models vary in power (measured in peak amps), but most can handle cars, SUVs, and even small trucks.
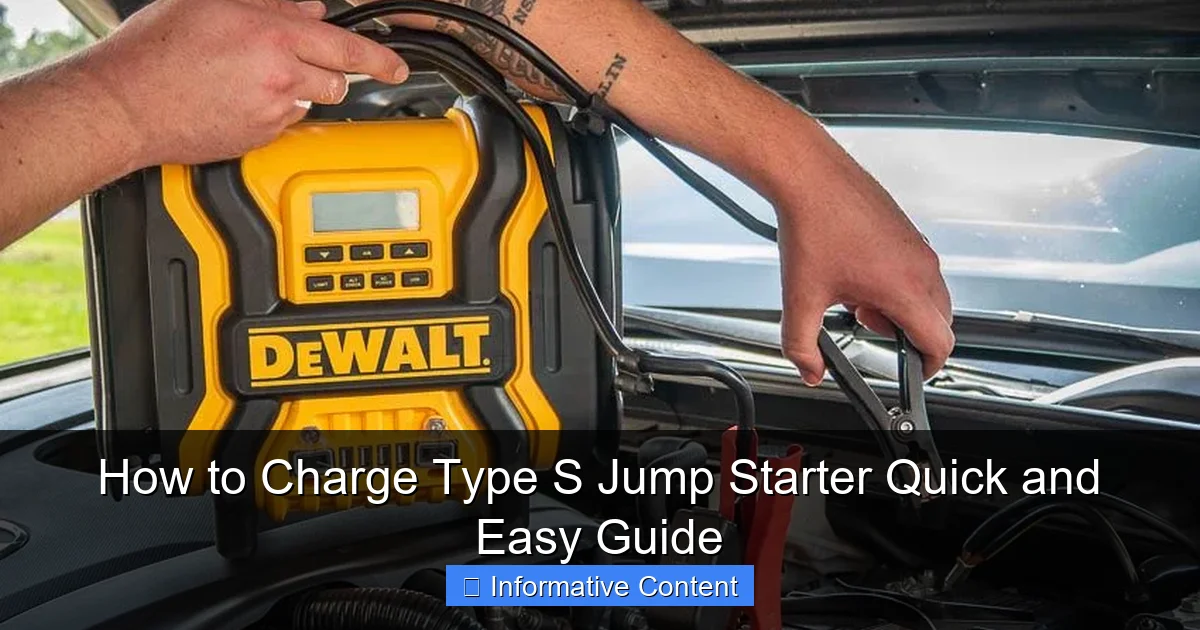
Visual guide about how to charge type s jump starter
Image source: everstartjumpstarter.com
What makes the Type S stand out is its compact design and user-friendly features. Many models come with safety protections like reverse polarity, overload, and short-circuit prevention. But all that power and safety won’t matter if the device isn’t charged. Think of it like a flashlight: it’s great when it works, but useless if the batteries are dead.
Key Components That Affect Charging
- Battery Type: Most Type S jump starters use lithium-ion or lithium-polymer batteries. These are lightweight, rechargeable, and hold a charge well—but they do degrade over time.
- Charging Port: Look for a micro-USB, USB-C, or proprietary port on the side or back. This is where you plug in the charger.
- LED Indicators: Small lights (usually red and green) show charging status. Red means charging, green means full. Some models have multiple lights to show battery percentage.
- Input Voltage/Current: Check the manual or label. Most accept 5V/2A (standard USB) or 9V/2A (fast charging). Using the wrong charger can damage the battery.
For example, the Type S 12V 1000A model has a USB-C port and supports both standard and fast charging. But if you use a 12V car charger without checking compatibility, you might overcharge it. Always match the input specs.
Common Misconceptions
Many people assume jump starters charge like phones—just plug in and wait. But there are nuances. For instance:
- “I can charge it with any USB cable.” Not quite. While most use USB, the current matters. A low-quality cable might charge slowly or not at all.
- “It’s fine to leave it plugged in forever.” Modern Type S models have overcharge protection, but leaving it on the charger for weeks can still degrade the battery.
- “I only need to charge it after use.” Lithium batteries lose charge even when idle. You should charge it every 3-6 months, even if unused.
How to Charge Type S Jump Starter: Step-by-Step Guide
Step 1: Check the Battery Level
Before charging, check how much power is left. Most Type S jump starters have a battery indicator button. Press it, and the LEDs will light up to show the charge level. For example:
- 4 lights = 100% (fully charged)
- 2 lights = 50%
- 1 light = 25% or less
If it’s below 50%, charge it soon. If it’s below 25%, charge it immediately—especially if you plan to use it soon. I once skipped this step and found my jump starter at 10% during an emergency. It worked, but barely.
Step 2: Choose the Right Charger and Cable
Using the correct charger is critical. Here’s what to look for:
- Charger: Use a wall adapter rated for 5V/2A (standard) or 9V/2A (fast). Avoid cheap no-name chargers—they might not regulate voltage properly.
- Cable: Use the original cable or a high-quality replacement. Look for “24AWG” or thicker wires. Thin cables (28AWG) can’t handle high current, leading to slow charging or overheating.
- Port Compatibility: If your model has a USB-C port, use a USB-C to USB-C cable for fast charging. For micro-USB, use a micro-USB to USB-A cable.
Pro tip: Keep your charging cable in the jump starter’s storage case. I lost mine once and had to borrow a friend’s phone cable—which barely worked.
Step 3: Connect and Start Charging
- Plug the charger into a wall outlet.
- Connect the cable to the charger and the jump starter’s port.
- Press the power button (if required). Some models start charging automatically; others need a button press.
The LEDs will light up red or orange, showing it’s charging. For example, the Type S 800A takes about 3-4 hours to charge fully with a 5V/2A charger. Fast charging (9V/2A) can cut that to 2-3 hours.
Step 4: Monitor the Charging Process
- Red/Orange LED: Charging in progress.
- Green LED: Fully charged.
- Flashing LED: Could indicate an error (e.g., loose connection, incompatible charger).
If the lights flash or don’t turn on, unplug and check the connections. Try a different cable or outlet. I once thought my jump starter was broken, but it was just a faulty outlet in my garage.
Step 5: Disconnect and Store Properly
Once fully charged (green LED), unplug the device. Do not leave it plugged in for more than 24 hours, even with overcharge protection. Here’s how to store it:
- Keep it in a cool, dry place (not the glovebox on a hot day).
- Store at 50-80% charge if not using for over a month.
- Use the included case or a padded bag to avoid damage.
Example: I keep mine in my trunk’s side pocket with the cable neatly coiled. It’s ready to grab in seconds.
Charging Methods and Compatibility
Wall Charging (Most Common)
This is the standard method. Use a wall adapter and USB cable. Pros:
- Fast and reliable.
- Works with most home outlets.
Cons:
- Not usable on the road.
- Requires access to a power source.
Tip: Use a fast charger (9V/2A) if your model supports it. It can save 1-2 hours.
Car Charging (On-the-Go Option)
Some Type S models come with a 12V car charger. Plug it into your car’s cigarette lighter. Pros:
- Charge while driving.
- Great for road trips.
Cons:
- Slower than wall charging (often 1-2A).
- Not all models include this cable.
Example: The Type S 1200A includes a car charger, but the Type S 600A doesn’t. Check your manual.
Solar Charging (Rare but Possible)
Some high-end models support solar charging via a solar panel. Pros:
- Eco-friendly.
- Useful in remote areas.
Cons:
- Very slow (takes 10+ hours in direct sun).
- Requires a compatible solar panel (not included).
Note: Solar charging is more of a backup option. Don’t rely on it for emergencies.
USB Charging from Laptops/PCs
You can charge your jump starter from a laptop’s USB port. Pros:
- No extra equipment needed.
Cons:
- Slow (often 0.5-1A).
- Laptop must be on (or in sleep mode).
Tip: Use this method only if you’re near a laptop and not in a hurry.
Common Charging Problems and How to Fix Them
Jump Starter Won’t Charge (No Lights)
Possible Causes:
- Loose cable connection.
- Faulty charger or cable.
- Damaged port on the jump starter.
- Dead battery (rare but possible).
Solutions:
- Unplug and reconnect the cable.
- Try a different charger and cable.
- Inspect the port for debris or damage. Use compressed air to clean it.
- Leave it plugged in for 30 minutes. Sometimes lithium batteries need a “jumpstart” to recover from deep discharge.
I once left my jump starter unused for 8 months. It wouldn’t charge until I left it plugged in for an hour. Patience is key!
Charging Is Very Slow
Possible Causes:
- Low-current charger (e.g., 1A).
- Low-quality or thin cable.
- Using a laptop USB port.
Solutions:
- Switch to a 2A or 3A wall charger.
- Use a thicker cable (24AWG or better).
- Charge from a wall outlet instead of a laptop.
LEDs Flash or Turn Off Randomly
Possible Causes:
- Overheating (device gets too hot).
- Voltage fluctuation (bad outlet).
- Faulty internal battery.
Solutions:
- Unplug and let it cool down for 10 minutes.
- Try a different outlet.
- Contact customer support if the issue persists.
Battery Drains Quickly After Charging
Possible Causes:
- Battery is old (lithium batteries degrade after 2-3 years).
- Frequent deep discharges (leaving it at 0% often).
Solutions:
- Replace the jump starter if it’s older than 3 years.
- Charge it every 3-6 months, even when unused.
Best Practices for Maintaining Your Jump Starter
Charge Frequency: How Often Should You Charge?
Even when not in use, lithium batteries lose 2-5% of their charge per month. Here’s a simple schedule:
- Every 3 months: If you live in a moderate climate.
- Every 2 months: If you live in extreme temperatures (hot deserts or cold winters).
- After every use: Always recharge after jump-starting a car.
Example: I set a phone reminder every 90 days to check and charge mine. It takes 2 minutes.
Storage Tips to Extend Battery Life
- Avoid extreme temperatures: Don’t leave it in a hot car or freezing garage. Store at 50-77°F (10-25°C).
- Store at 50% charge: If not using for 6+ months, charge to 50% first. This reduces battery stress.
- Keep it dry: Moisture can damage circuits. Use a sealed bag with silica gel packs in humid climates.
Traveling with Your Jump Starter
Taking a road trip? Follow these tips:
- Charge it fully before leaving.
- Pack the charger and cable in an easy-to-reach spot (like the glovebox).
- Use the car charger to top it up during long drives.
- Check battery level every 2-3 days.
Pro tip: I once used my car charger to keep my jump starter at 80% during a 5-day camping trip. It was ready when my friend’s truck battery died.
When to Replace Your Jump Starter
Most Type S jump starters last 3-5 years with proper care. Signs it’s time to replace:
- Charges slowly or not at all.
- Holds less than 50% charge after full charge.
- Physical damage (cracks, swollen battery).
- Over 3 years old and used frequently.
Comparison of Charging Methods (Data Table)
| Charging Method | Average Charge Time | Pros | Cons | Best For |
|---|---|---|---|---|
| Wall Charging (5V/2A) | 3-4 hours | Fast, reliable | Needs power outlet | Home use |
| Wall Charging (9V/2A Fast) | 2-3 hours | Very fast | Requires compatible model | Urgent charging |
| Car Charging (12V) | 4-6 hours | On-the-go | Slow, not all models support | Road trips |
| USB (Laptop/PC) | 6-8 hours | No extra equipment | Very slow | Backup option |
| Solar Charging | 10+ hours | Eco-friendly | Very slow, needs sunlight | Remote areas |
Final Thoughts: Keep Your Type S Jump Starter Ready
Learning how to charge Type S jump starter might seem simple, but doing it right ensures your device is always reliable. Think of it like maintaining a fire extinguisher: you hope you’ll never need it, but if you do, it must work perfectly. By following this guide—checking battery levels, using the right charger, monitoring the process, and storing it properly—you’ll avoid the frustration of a dead jump starter when you need it most.
Remember, it’s not just about charging. It’s about how you charge, when you charge, and how you store it. Small habits, like checking the battery every few months or keeping the cable handy, make a big difference. I’ve used my Type S jump starter over 20 times, and it’s still going strong because I treat it with care. You can do the same. Stay safe, stay prepared, and never get stranded again.
Frequently Asked Questions
How do I charge a Type S jump starter for the first time?
For the first charge, plug the included AC adapter into a wall outlet and connect it to the jump starter’s input port. Charging typically takes 3–5 hours, and an LED indicator will show when it’s fully charged. Always follow the manufacturer’s instructions to avoid overcharging.
Can I use a car charger to charge my Type S jump starter?
Yes, most Type S jump starters support 12V car charging using an optional DC adapter. Simply plug it into your vehicle’s cigarette lighter and connect to the jump starter’s input port. This is ideal for charging on the go during road trips.
How long does it take to fully charge a Type S jump starter?
Using the standard AC adapter, a full charge usually takes 3–5 hours. Charging time may vary depending on the battery’s remaining charge and model capacity. Some models feature fast-charging technology for quicker turnaround.
Is it safe to leave my Type S jump starter plugged in overnight?
Yes, most Type S jump starters have built-in overcharge protection, making them safe to charge overnight. However, it’s still best to unplug once fully charged to prolong battery lifespan. Always check your model’s safety guidelines.
Why isn’t my Type S jump starter holding a charge?
This could be due to a drained battery, faulty cable, or prolonged inactivity. Try a full 5-hour charge using the original adapter. If the issue persists, contact customer support, as the battery may need replacement.
What type of charger does a Type S jump starter use?
Type S jump starters typically use a 12V–24V DC input or 100–240V AC adapter (included). Some models also support USB-C or solar charging. Always use the manufacturer-recommended charger to avoid damaging the device.