
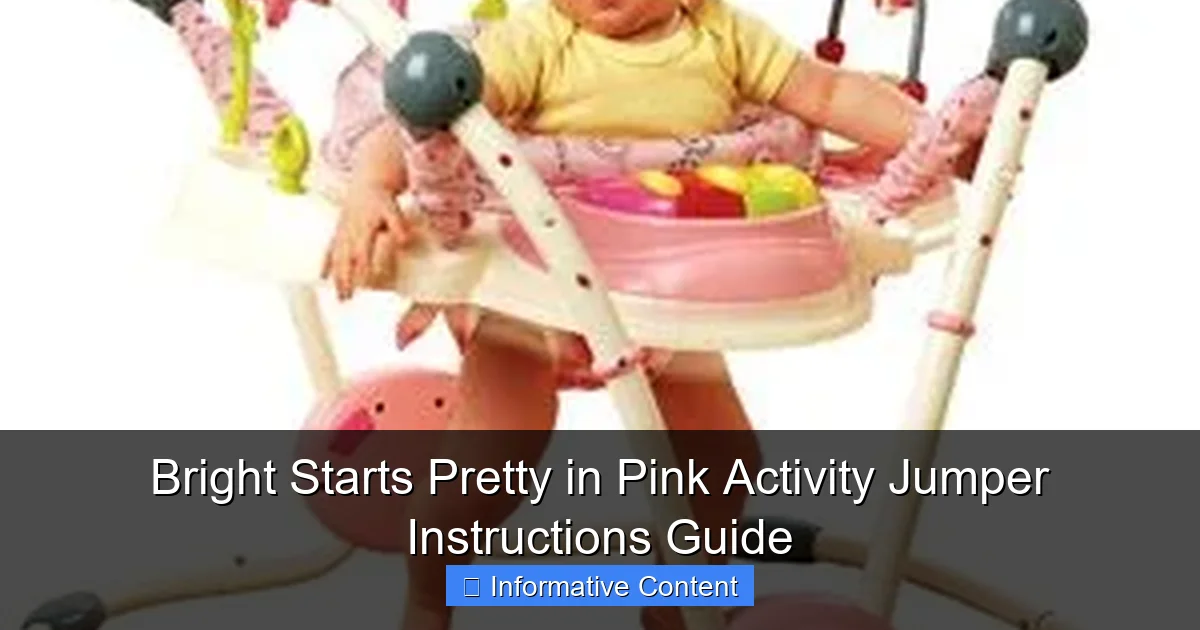
Featured image for bright starts pretty in pink activity jumper instructions
Image source: i.pinimg.com
The Bright Starts Pretty in Pink Activity Jumper combines safety, fun, and easy assembly to keep your baby entertained and supported during crucial developmental stages. Follow the included step-by-step instructions for quick setup, secure harness use, and interactive toy adjustments to maximize engagement and comfort. Perfect for parents seeking a reliable, stylish jumper with clear, user-friendly guidance.
Key Takeaways
- Follow assembly steps precisely: Ensure jumper is safely built using included tools.
- Adjust height early: Set seat to match baby’s leg length for proper support.
- Check toy attachment: Secure all play tray items to prevent choking hazards.
- Limit bounce time: Use for 15–20 minutes to avoid overstimulation.
- Clean regularly: Wipe frame and toys weekly with mild soap and water.
- Verify weight limit: Stop use when baby exceeds 25 lbs or can walk.
📑 Table of Contents
- Why the Bright Starts Pretty in Pink Activity Jumper Is a Game-Changer for Babies
- Unboxing and Assembly: Step-by-Step Setup Guide
- Safety First: Critical Checks and Precautions
- Maximizing Fun: Engaging Activities and Playtime Tips
- Cleaning and Maintenance: Keeping It Fresh and Safe
- Common Issues and Troubleshooting: Quick Fixes
- Is the Bright Starts Pretty in Pink Activity Jumper Worth It?
Why the Bright Starts Pretty in Pink Activity Jumper Is a Game-Changer for Babies
As a parent, you want your baby to explore the world safely while having fun. The Bright Starts Pretty in Pink Activity Jumper has become a go-to choice for many families, and for good reason. It’s not just a bouncer; it’s a full sensory experience designed to keep your little one engaged, active, and smiling. From the moment my daughter first stepped into hers, I noticed her eyes light up at the colorful toys, lights, and sounds. It’s like having a mini playground right in your living room. But like any baby gear, setting it up and using it correctly is key to unlocking its full potential.
Whether you’re a first-time parent or adding another jumper to your collection, this guide will walk you through everything you need to know. We’ll cover assembly, safety checks, usage tips, and even how to keep it clean and long-lasting. Think of this as your friendly, no-nonsense companion to making the most of your Bright Starts Pretty in Pink Activity Jumper instructions. No fluff, no hype—just practical advice from real-world experience.
Unboxing and Assembly: Step-by-Step Setup Guide
What’s in the Box?
Before you dive into assembly, take a moment to inventory what you’ve got. The Bright Starts Pretty in Pink Activity Jumper typically includes:
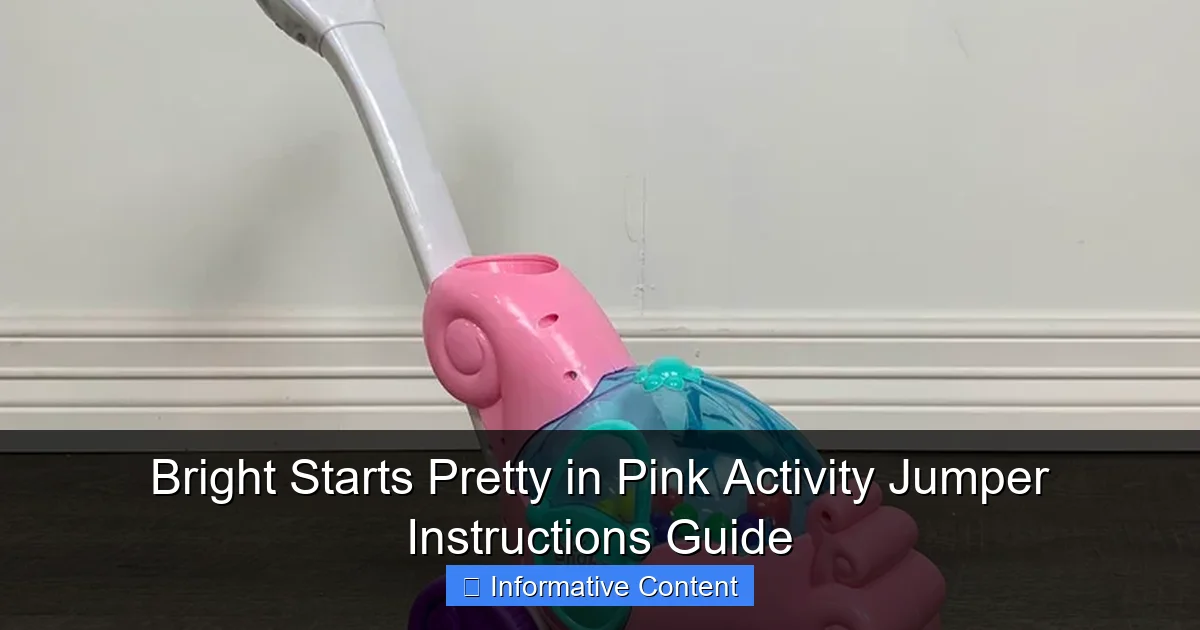
Visual guide about bright starts pretty in pink activity jumper instructions
Image source: goodbuygear.com
- The main frame (usually in three sections)
- A padded seat with adjustable straps
- Four activity toys (rattles, mirrors, crinkle toys, and a teether)
- Two hanging toy bars with clips
- Instruction manual (with diagrams)
- Optional: batteries for electronic features (if applicable)
Pro tip: Lay everything out on a clean floor. This helps you spot missing parts early and avoids frustration mid-assembly. I once spent 10 minutes searching for a toy clip—only to realize it was hiding under the box flap!
Frame Assembly: Connecting the Base
The frame is the backbone of the jumper. Start by connecting the two U-shaped base sections. These usually click together with a satisfying “snap.” If you’re not hearing that sound, don’t force it—check if the pieces are aligned correctly. The third section is the vertical support pole. Attach it to the base using the provided screws or locking pins. Here’s where the Bright Starts Pretty in Pink Activity Jumper instructions shine: they include clear diagrams showing the correct orientation of each piece. I recommend tightening screws by hand first, then using a screwdriver for a snug fit. Over-tightening can strip the plastic.
Real talk: The first time I assembled it, I accidentally reversed the support pole. My daughter giggled when the seat wobbled, and I realized my mistake. Lesson learned: always double-check the diagrams!
Attaching the Seat and Toys
Now for the fun part—adding the seat. Slide the padded seat onto the support pole and secure it with the height-adjustable straps. Most models have three height settings. For a 4-month-old, use the lowest setting. For a 7-month-old, go higher. The seat should be snug but not tight—you should fit two fingers between the straps and your baby’s shoulders.
Next, attach the hanging toy bars. These clip onto the frame arms. Position them so the toys are within your baby’s reach (about 6–8 inches from the seat). Rotate the toys occasionally to keep things fresh. For example, swap the mirror for the rattle to spark curiosity. The included toys are designed to stimulate different senses: crinkly fabrics for touch, mirrors for visual tracking, and rattles for auditory feedback.
Safety First: Critical Checks and Precautions
Weight and Age Guidelines
The Bright Starts Pretty in Pink Activity Jumper is designed for babies who can hold their heads up unassisted (usually 4–6 months) and weigh under 25 lbs. Exceeding the weight limit can strain the frame and compromise stability. Always check the manufacturer’s label for updates—some newer models may have slightly different specs.
Personal tip: We used our jumper from 5 months until my daughter hit 24 lbs at 9 months. After that, we transitioned to a stationary activity center. It’s worth noting that jumpers aren’t meant for long-term use. The American Academy of Pediatrics recommends limiting bouncing time to 15–20 minutes per session to avoid overstimulation.
Stability and Floor Surface
Place the jumper on a flat, hard surface—tile, hardwood, or low-pile carpet. Avoid thick rugs or uneven floors. The non-slip feet on the base help, but a stable surface is non-negotiable. I once set it up on a shag rug, and the frame wobbled every time my daughter kicked. Not ideal!
Before each use, give the frame a quick shake test. If it moves more than an inch, reposition it. Also, ensure the seat is centered. A lopsided seat can throw off your baby’s balance and lead to falls.
Regular Maintenance Checks
Like any baby gear, wear and tear happens. Every few weeks, inspect:
- Straps: Look for fraying or looseness. Replace if damaged.
- Frame joints: Ensure screws are tight and plastic connectors are intact.
- Toy attachments: Make sure clips are secure. A loose toy can become a choking hazard.
- Seat padding: Check for tears. Clean spills immediately to prevent mildew.
One winter, my daughter had a cold and sneezed directly onto the seat. I wiped it with a damp cloth but didn’t dry it thoroughly—next time I used it, there was a faint mildew smell. Now I always air-dry the seat for 30 minutes after cleaning.
Maximizing Fun: Engaging Activities and Playtime Tips
Stimulating Sensory Development
The Bright Starts Pretty in Pink Activity Jumper isn’t just for bouncing. It’s a sensory playground. Here’s how to make the most of it:
- Visual: Hang the mirror so your baby can “talk” to their reflection. Point to their nose, eyes, and mouth to build body awareness.
- Auditory: Shake the rattles and describe the sound: “That’s a jingle! Can you make it jingle too?”
- Tactile: Let them explore crinkle toys. Say, “Feel the crinkle! It’s bumpy and fun!”
- Motor skills: Encourage reaching for toys. Place them just slightly out of reach to promote stretching and coordination.
My daughter’s favorite was the teether. She’d gnaw on it while bouncing, which helped with teething pain. I’d rotate the toys weekly to keep her interested. For example, one week we’d focus on the mirror, the next on the rattle.
Interactive Play: Joining the Fun
Jumpers are great, but your presence makes them magical. Sit in front of your baby and:
- Sing songs like “If You’re Happy and You Know It” (bounce on “clap your hands”).
- Play peek-a-boo by hiding behind a toy, then popping out.
- Use simple commands: “Touch the red ball!” or “Where’s the duck?”
One afternoon, I held a stuffed animal just above the toy bar. My daughter kicked and reached, laughing as she “caught” it. That 10-minute session was more engaging than any app or video.
Transitioning to Independent Play
As your baby grows, encourage short bursts of solo play. Start with 5-minute sessions while you fold laundry nearby. Gradually increase to 10–15 minutes. This builds confidence and independence. But never leave your baby unattended—even a secure jumper can tip if they lean too far.
Cleaning and Maintenance: Keeping It Fresh and Safe
Daily and Weekly Cleaning Routine
Let’s face it: babies are messy. Here’s how to keep your jumper hygienic:
- Daily: Wipe down the seat with a damp cloth and mild soap. Pay attention to crevices where crumbs hide.
- Weekly: Remove the seat pad and machine-wash it on a gentle cycle (cold water). Air-dry to prevent shrinkage.
- Toys: Clean with a disinfectant wipe. For electronic toys, wipe the outside only—never submerge them.
Pro tip: Keep a small brush (like a toothbrush) to scrub toy crevices. Food particles love to hide there!
Deep Cleaning for Stains and Odors
For stubborn stains or smells:
- Mix 1 part white vinegar with 2 parts water.
- Spray the solution on the seat and let it sit for 10 minutes.
- Wipe with a clean, damp cloth.
- Sprinkle baking soda on the seat, wait 15 minutes, then vacuum.
I used this method after my daughter’s juice spill. The vinegar broke down the stain, and the baking soda neutralized the sticky residue. No lingering “fruit punch” smell!
Storage and Long-Term Care
If you plan to use the jumper for a second child or store it:
- Disassemble the frame and store it in a dry, cool place.
- Remove batteries from electronic toys to prevent corrosion.
- Cover the seat with a breathable fabric bag (not plastic) to avoid moisture buildup.
We stored ours in the attic for a year. When we set it up again, the frame was dusty but intact. The seat had a few minor wrinkles but cleaned up nicely.
Common Issues and Troubleshooting: Quick Fixes
Wobbly Frame or Squeaky Joints
If the jumper wobbles:
- Check that all frame connections are fully clicked in.
- Tighten any loose screws.
- Ensure the floor is level. Use small cardboard shims under a leg if needed.
For squeaky joints, apply a drop of baby-safe silicone lubricant (like the kind used for cribs) to the hinges. Avoid oil-based products—they can stain.
Seat Slipping or Adjusting Difficulty
If the seat slips:
- Reattach the straps and tighten them securely.
- Check for worn-out plastic clips—replace if cracked.
Some parents find the height adjustment tricky. Here’s a trick: lift the seat slightly before sliding it up or down. This releases the locking mechanism.
Toys Falling Off or Not Staying in Place
Loose toys? Try these fixes:
- Clip the toy bars closer to the seat.
- Use rubber bands (the thick, non-latex kind) to secure toys to the bars.
- Replace worn-out clips with universal toy links (available at baby stores).
My daughter once pulled a rattle off mid-bounce. I used a rubber band to anchor it, and it stayed put for weeks!
Is the Bright Starts Pretty in Pink Activity Jumper Worth It?
After months of use, I can confidently say this jumper delivers on its promises. It’s durable, engaging, and—most importantly—safe. The Bright Starts Pretty in Pink Activity Jumper instructions make setup straightforward, and the adjustable features grow with your baby. While no product is perfect (the seat could be slightly thicker, and the toys might be more interactive), the pros far outweigh the cons.
Here’s a quick recap of what I loved:
- Easy assembly: Took me 20 minutes the first time.
- Sensory-rich toys: Kept my daughter engaged for months.
- Adjustable height: Perfect for her growth spurts.
- Compact size: Fits in our small living room.
And a few things to keep in mind:
- Limited weight capacity: Best for babies under 25 lbs.
- Not for prolonged use: Stick to 15–20 minute sessions.
- Cleaning takes effort: But it’s manageable with a routine.
If you’re looking for a jumper that combines safety, fun, and value, the Bright Starts Pretty in Pink Activity Jumper is a solid choice. Just remember: it’s a tool to support your baby’s development, not a substitute for hands-on play. Use it as a springboard for interaction, and you’ll both reap the benefits. Happy bouncing!
| Feature | Details | Parent Tip |
|---|---|---|
| Weight Limit | 25 lbs | Weigh your baby monthly to avoid overuse. |
| Height Settings | 3 levels | Adjust every 4–6 weeks as your baby grows. |
| Toys Included | 4 (rattle, mirror, crinkle toy, teether) | Rotate weekly for fresh stimulation. |
| Assembly Time | 15–30 minutes | Do it when your baby is napping to avoid interruptions. |
| Cleaning | Wipe frame; machine-wash seat | Keep a cleaning caddy nearby for quick touch-ups. |
Frequently Asked Questions
How do I assemble the Bright Starts Pretty in Pink Activity Jumper?
Follow the step-by-step instructions in the included manual, starting with attaching the frame legs and securing the seat. Ensure all parts click into place and double-check stability before use. This jumper typically takes 10–15 minutes to assemble.
What is the weight limit for the Bright Starts Pretty in Pink Activity Jumper?
The jumper supports babies up to 25 pounds (11.3 kg) or until they can walk unassisted. Always check the product label for the most accurate safety guidelines.
How do I clean the activity jumper’s fabric seat and toys?
Remove the seat pad and machine wash it on a gentle cycle with mild detergent. Wipe down plastic toys with a damp cloth and mild soap—avoid submerging them in water.
Can the height of the Bright Starts Pretty in Pink Activity Jumper be adjusted?
Yes, the jumper features 3 height settings to accommodate your growing baby. Use the side buttons to adjust the frame to the desired level for a secure fit.
Are the toys on the jumper removable for independent play?
Most toys are attached but can be carefully unclipped for standalone use. Check the manual for specific toy removal instructions to avoid damaging the attachments.
What safety features does the Bright Starts Pretty in Pink Activity Jumper have?
It includes a sturdy 3-point harness, non-slip feet, and a wide base to prevent tipping. Always supervise your baby during use and follow all instructions for safe play.