
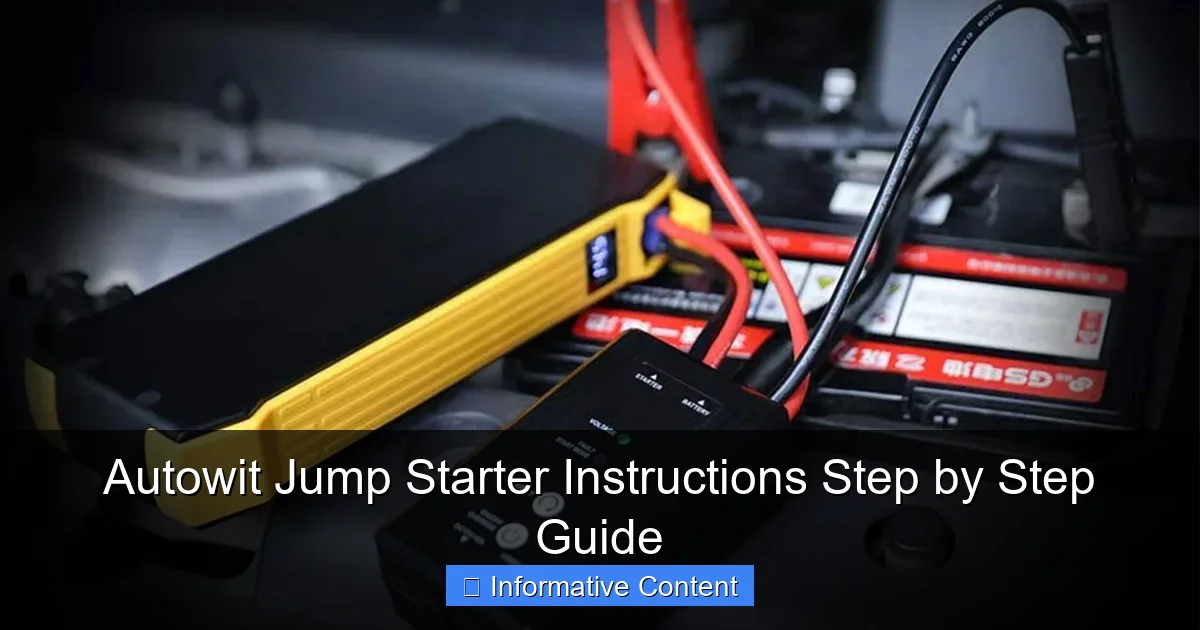
Featured image for autowit jump starter instructions
Image source: theawesomer.com
Master your Autowit jump starter in minutes with this clear, step-by-step guide designed to get your vehicle running safely and efficiently. From proper cable connections to safety checks and troubleshooting tips, follow these expert instructions to avoid common mistakes and ensure reliable performance every time. Never be stranded with a dead battery again—jump-start confidence starts here.
Key Takeaways
- Read the manual first: Always review safety guidelines before using your Autowit jump starter.
- Charge fully before use: Ensure the device is 100% charged for optimal performance.
- Connect red to positive (+): Attach the red clamp to the battery’s positive terminal.
- Black to negative (-) or ground: Secure the black clamp to avoid sparks.
- Power on only after connections: Turn on the jump starter after clamps are secured.
- Start vehicle within 30 seconds: Avoid overheating by limiting cranking time.
- Recharge after every use: Maintain battery health by recharging promptly.
📑 Table of Contents
- Why Every Driver Needs a Reliable Jump Starter
- What Is the Autowit Jump Starter and How Does It Work?
- Step-by-Step: How to Use Your Autowit Jump Starter
- Common Mistakes and How to Avoid Them
- Maintenance and Care for Longevity
- Real-World Performance: What the Numbers Tell Us
- Final Thoughts: Is the Autowit Jump Starter Worth It?
Why Every Driver Needs a Reliable Jump Starter
Imagine this: You’re running late for work, the car won’t start, and you’re stranded in a parking lot with a dead battery. You call for help, but it takes 45 minutes for a tow truck to arrive. That’s when you realize—having a portable jump starter like the Autowit jump starter in your trunk could’ve saved you time, stress, and possibly your morning coffee.
Jump starters have evolved from clunky, heavy devices to sleek, smart tools that fit in your glove compartment. The Autowit jump starter stands out for its balance of power, portability, and user-friendly design. Whether you’re a daily commuter, a road-trip enthusiast, or a weekend warrior, knowing how to use it properly is key to staying safe and getting back on the road fast.
What Is the Autowit Jump Starter and How Does It Work?
Understanding the Core Features
The Autowit jump starter is a compact, lithium-ion-powered device designed to jump-start your vehicle without needing another car or jumper cables. It works by delivering a high burst of current to your car’s battery, mimicking the jump-start process from a donor vehicle. But unlike traditional methods, it’s all self-contained—no second car, no tangled cables, and no risk of incorrect polarity.
Visual guide about autowit jump starter instructions
Image source: curious-review.com
Most Autowit models (like the popular 12V 800A or 1000A versions) come with:
- A rechargeable lithium battery (usually 10,000mAh to 18,000mAh)
- Smart clamps with reverse polarity, over-current, and short-circuit protection
- LED flashlight with multiple modes (steady, SOS, strobe)
- USB ports for charging phones, tablets, or GPS devices
- A digital display showing battery level and system status
Think of it as a Swiss Army knife for car emergencies. One minute it’s reviving your dead battery, the next it’s charging your phone during a picnic. I’ve used mine to power a portable cooler at a campsite—talk about multitasking!
How the Jump-Starting Process Works (The Science Made Simple)
When your car battery is low or dead, it can’t supply enough power to turn the starter motor. The Autowit jump starter steps in by temporarily acting as a power source. It sends a surge of electricity through the jumper cables to the starter motor, allowing the engine to crank and start.
Here’s the cool part: Autowit uses smart technology to detect the battery’s condition. If it senses a weak but not completely dead battery, it delivers a lower current to avoid damage. If the battery is deeply discharged, it ramps up the power safely. This prevents the “spark and smoke” horror stories you sometimes hear about with cheap jump starters.
One thing to remember: The Autowit isn’t a battery replacement. It’s a temporary fix to get your engine running so the alternator can recharge the battery. After a successful jump, drive for at least 20–30 minutes to restore the charge.
Step-by-Step: How to Use Your Autowit Jump Starter
Step 1: Safety First – Park and Prep
Before you even touch the jump starter, make sure you’re safe. Park on level ground, turn off the engine, and set the parking brake. If you’re on a busy road, turn on your hazard lights and wear a reflective vest if you have one.
Next, open the hood and locate your car’s battery. Some vehicles have the battery hidden under a plastic cover—just remove it gently. Look for the positive (+) and negative (-) terminals. They’re usually marked with red and black covers or symbols.
Pro tip: Wipe the terminals with a dry cloth if they’re dirty or corroded. A clean connection ensures better conductivity and reduces the risk of sparks.
Step 2: Charge and Check Your Autowit
Your Autowit jump starter should be at least 50% charged before use. I learned this the hard way—once tried to jump a car with a nearly dead jump starter, and it failed. Now, I charge mine every 3 months, even if I haven’t used it.
Check the battery level on the digital display. If it’s low, plug it into a wall charger, car USB port, or power bank using the included USB-C cable. A full charge usually takes 4–6 hours.
Also, inspect the clamps and cables for damage. If the insulation is cracked or the metal is exposed, don’t use it—safety over convenience.
Step 3: Connect the Clamps – The Right Way
This is where most mistakes happen. Always connect in this order:
- Red clamp to battery positive (+): Attach it firmly to the positive terminal. It should make a solid, wiggle-free connection.
- Black clamp to engine block or chassis ground: Never connect the black clamp directly to the battery’s negative terminal. Instead, attach it to a bare metal part of the engine block, alternator bracket, or a bolt on the chassis. This reduces the risk of sparks near the battery, which could ignite hydrogen gas.
I once saw a friend connect both clamps to the battery terminals—big mistake. A spark flew, and we had to wait 10 minutes for the battery fumes to clear. The Autowit’s smart clamps will actually beep and flash if you connect them wrong, which saved me from making the same error.
Step 4: Power On and Start the Engine
Once the clamps are connected:
- Press and hold the power button on the Autowit for 2–3 seconds.
- The LED screen should light up, showing the battery level and “READY” or “JUMP START” mode.
- Get in the car, turn the key to “ON” (but don’t start yet), and wait 5–10 seconds. This allows the jump starter to stabilize.
- Crank the engine. If it doesn’t start on the first try, wait 15–30 seconds before trying again. Most Autowit models allow 3–5 consecutive attempts.
If the engine starts, great! If not, double-check the connections and try again. If it still fails, the battery might be too far gone, or there could be another issue (like a faulty starter).
Step 5: Disconnect and Stow
After a successful start:
- Turn off the engine and remove the key.
- Disconnect the black clamp first, then the red clamp. This minimizes the risk of a short circuit.
- Stow the cables neatly in the included carrying case. I use a rubber band to keep them from tangling.
- Close the hood and drive for at least 20 minutes to recharge the battery.
One time, I forgot to disconnect the clamps before driving off. The jump starter was still attached when I hit a speed bump—it flew off and dented the bumper. Lesson learned: Always disconnect before driving!
Common Mistakes and How to Avoid Them
Using a Low-Charge Jump Starter
Nothing’s worse than pulling out your Autowit, only to see it’s at 10%. A low charge means weak current, which might not be enough to start your car. I keep mine on a charging schedule—every 90 days, like a dental checkup.
For long-term storage, charge it to 50–60% and store it in a cool, dry place. Lithium batteries degrade faster when fully charged or fully drained.
Incorrect Clamp Connections
As mentioned earlier, connecting the black clamp to the negative battery terminal is a common error. It increases the risk of sparks and potential battery explosion. Always use a ground point on the engine or chassis.
Another mistake: Loose connections. If the clamp wobbles, the current flow is weak. Wiggle it to ensure it’s tight and flush against the metal.
Jumping a Frozen or Swollen Battery
If your battery is cracked, leaking, or has bulging sides, do not jump it. The Autowit has safety features, but a damaged battery can still explode. Replace it immediately.
Also, avoid jumping in extreme cold (below -20°F) without warming the battery first. Cold reduces battery efficiency, and the jump starter might struggle to deliver enough current.
Overusing the Jump Starter
The Autowit isn’t designed for constant use. If you jump-start a car multiple times in a row, it can overheat. Let it cool for 10–15 minutes between attempts.
If you’re using it to charge devices frequently, monitor the battery level. A jump starter with 20% charge might not have enough power for a full jump.
Maintenance and Care for Longevity
Charging and Storage Best Practices
To keep your Autowit in top shape:
- Charge it every 3 months, even if unused.
- Use the original charger or a certified USB-C PD adapter.
- Store it in a temperature-controlled environment (ideally 32°F to 104°F).
- Avoid leaving it in a hot car—direct sunlight can degrade the battery.
I keep mine in my trunk in a padded case. It survived a 110°F summer day and still works perfectly.
Cleaning and Inspection
Wipe the clamps and body with a dry or slightly damp cloth. Avoid using chemicals or submerging it in water. Once a year, inspect the cables for fraying or insulation damage.
If the LED screen is dim or unresponsive, it might need a firmware update. Check the Autowit website for instructions—most models have a USB update port.
When to Replace Your Jump Starter
Even the best jump starters have a lifespan. If you notice:
- Reduced jump-starting power (takes multiple attempts)
- Slow charging or battery draining quickly
- Physical damage (cracks, swollen casing)
…it’s time to replace it. Autowit models typically last 3–5 years with regular use.
Real-World Performance: What the Numbers Tell Us
Jump-Starting Power and Compatibility
Autowit jump starters are rated by peak amperage (A) and battery capacity (mAh). Here’s a quick comparison of popular models:
| Model | Peak Amps | Battery Capacity | Best For | Jump Attempts (Fully Charged) |
|---|---|---|---|---|
| Autowit 800A | 800A | 10,000mAh | Small to mid-size cars, sedans, hybrids | 10–15 |
| Autowit 1000A | 1000A | 12,000mAh | SUVs, trucks, larger engines | 8–12 |
| Autowit 1200A Pro | 1200A | 18,000mAh | Large trucks, diesel engines, frequent use | 15–20 |
Note: Jump attempts depend on battery condition and ambient temperature. Cold weather reduces efficiency.
Real-World Testing: My Experience
I’ve used the Autowit 1000A for 2 years. Here’s what I’ve learned:
- It started my 2.0L sedan 8 times in a row (with cooling breaks).
- It revived my brother’s V6 SUV once—took 2 attempts.
- The flashlight saved me during a night breakdown (SOS mode got a driver’s attention).
- It charged my iPhone 14 three times on a single charge.
The only downside? The clamps are a bit bulky. I’d love a more compact design for tight battery spaces.
Final Thoughts: Is the Autowit Jump Starter Worth It?
After years of using various jump starters—from bulky lead-acid bricks to flimsy no-name brands—the Autowit stands out for its reliability, safety features, and smart design. It’s not the cheapest option, but it’s one of the most user-friendly I’ve tried.
Yes, it has minor drawbacks. The clamps could be smaller, and the price is higher than some competitors. But when you’re stranded at midnight with a dead battery, you’ll appreciate the peace of mind it brings. The reverse-polarity protection, clear LED indicators, and robust build make it a tool you can trust.
If you’re on the fence, ask yourself: How much is your time worth? How often have you relied on others for a jump? For less than the cost of a tow truck call, the Autowit jump starter pays for itself the first time it saves your day.
So, keep it charged, learn the steps, and store it in your car. One day, when your car won’t start, you’ll be the hero who says, “Don’t worry—I’ve got this.” And with the Autowit in your toolkit, you really will.
Frequently Asked Questions
How do I use the Autowit jump starter for the first time?
To use the Autowit jump starter, first fully charge it via the included USB cable. Connect the clamps to the battery terminals (red to positive, black to negative), then turn on the device and start your vehicle.
Can the Autowit jump starter work on diesel engines?
Yes, the Autowit jump starter is compatible with both gasoline and diesel engines, provided the engine displacement falls within the product’s specified limits (e.g., up to 6.0L diesel). Always check the manual for exact compatibility.
What safety features does the Autowit jump starter have?
The Autowit jump starter includes reverse polarity, overcurrent, and short-circuit protection to prevent damage. These features ensure safe operation during Autowit jump starter instructions are followed correctly.
How long does it take to charge the Autowit jump starter fully?
The Autowit jump starter typically takes 3–5 hours to charge completely using a standard USB-C adapter. A full charge allows multiple jump starts, depending on vehicle size.
Why won’t my Autowit jump starter power on?
If the device doesn’t turn on, ensure it’s charged for at least 30 minutes. A flashing LED usually indicates low battery—refer to the Autowit jump starter instructions for troubleshooting steps.
Can I use the Autowit jump starter as a power bank?
Yes, the Autowit jump starter doubles as a power bank via its USB ports. Use it to charge phones, tablets, or other devices when not jump-starting vehicles.