
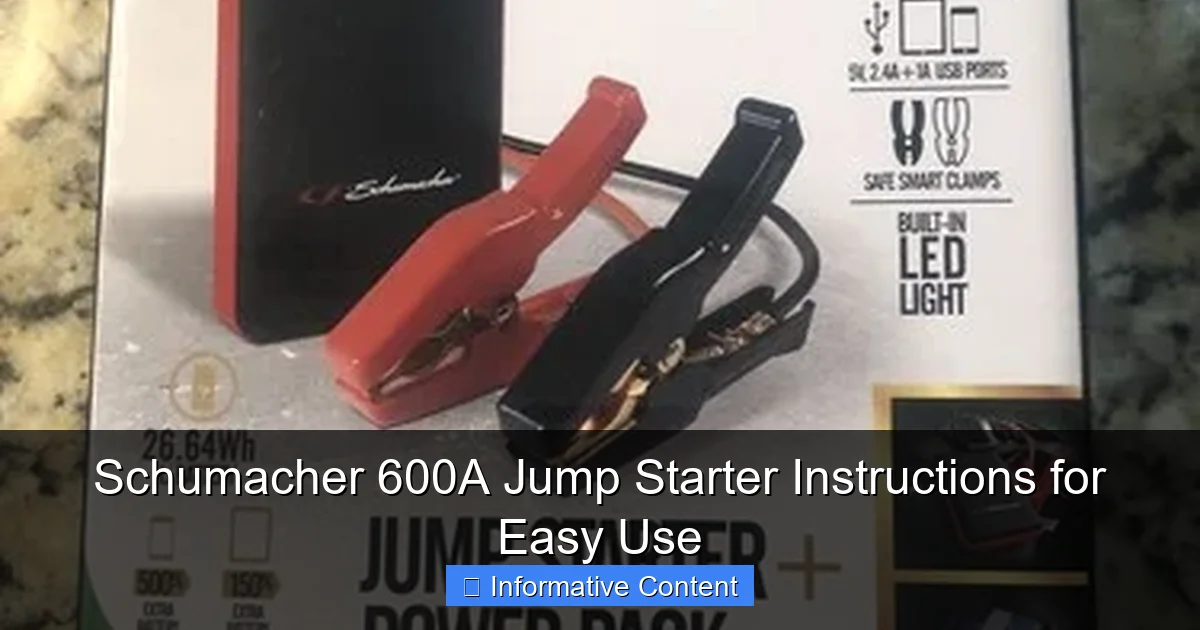
Featured image for schumacher 600a jump starter instructions
Image source: i.ebayimg.com
The Schumacher 600A Jump Starter delivers powerful, reliable performance with simple, step-by-step instructions for safe and effective use. Just connect the clamps to the correct battery terminals, power on the unit, and start your vehicle—no guesswork involved. Always follow the built-in safety alerts and LED indicators to prevent reverse polarity and ensure a quick, damage-free jump start every time.
Key Takeaways
- Read the manual first: Always review safety guidelines and instructions before use.
- Charge fully before use: Ensure 100% charge for maximum jump-starting power.
- Connect red to positive: Attach clamps correctly to avoid sparks or damage.
- Check battery status: Use the LED indicator to verify charge level pre-use.
- Power on after connecting: Turn on the unit only after clamps are secured.
- Store in cool, dry place: Maintain longevity by avoiding extreme temperatures.
- Use safety features: Rely on reverse polarity and overload protection for safe operation.
📑 Table of Contents
- Why Every Driver Needs a Reliable Jump Starter (And How the Schumacher 600A Fits In)
- Getting to Know Your Schumacher 600A: Features and Components
- Step-by-Step Schumacher 600A Jump Starter Instructions
- Charging and Maintaining Your Schumacher 600A
- Common Mistakes and Troubleshooting Tips
- Data Table: Schumacher 600A vs. Competitors (Quick Comparison)
- Final Thoughts: Is the Schumacher 600A Worth It?
Why Every Driver Needs a Reliable Jump Starter (And How the Schumacher 600A Fits In)
Let’s be honest—there’s nothing worse than turning the key in your ignition and hearing that dreaded *click… click… click* of a dead battery. It doesn’t matter if you’re rushing to work, heading to a family dinner, or stranded in a dark parking lot—being stranded with a car that won’t start is stressful, inconvenient, and sometimes even dangerous. I remember one winter morning, my headlights left on overnight, I sat in my car shivering, waiting for a friend to come with jumper cables. The whole ordeal took over an hour. That’s when I realized: I needed a better solution. Enter the Schumacher 600A Jump Starter.
This compact, powerful device isn’t just another gadget to clutter your trunk. It’s a lifeline. With 600 peak amps, it’s designed to jump-start cars, trucks, SUVs, and even small boats—no second vehicle required. Whether you’re a weekend warrior, a daily commuter, or just someone who wants peace of mind, having a Schumacher 600A jump starter in your vehicle means you’re never truly stuck. But like any tool, it works best when you know how to use it properly. That’s why I’ve put together this detailed guide to Schumacher 600A jump starter instructions—to help you get the most out of your device, stay safe, and avoid common mistakes.
Getting to Know Your Schumacher 600A: Features and Components
Before you jump into action (pun intended), it’s important to understand what you’re working with. The Schumacher 600A isn’t just a battery pack; it’s a multi-functional emergency power station. Let’s break down its key components and features so you can use it confidently and effectively.
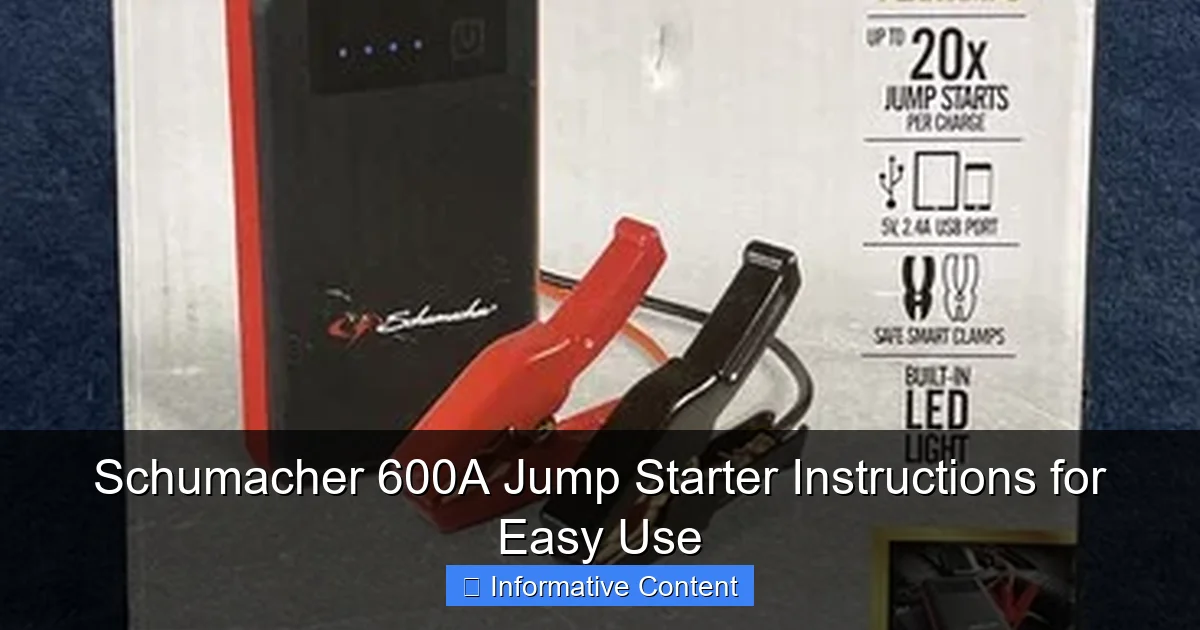
Visual guide about schumacher 600a jump starter instructions
Image source: i.ebayimg.com
What’s Inside the Box?
When you first open the box, you’ll typically find:
- The Schumacher 600A jump starter unit
- Smart battery clamps (red and black)
- 12V DC power outlet adapter
- USB charging cable (for recharging the unit)
- User manual
- Carry case or storage bag (on select models)
Pro tip: Keep all components together in a dedicated pouch or bag. I once left the clamps in the glovebox and the main unit in the trunk—needless to say, it wasn’t fun when I needed it fast. A simple mesh bag or tool roll keeps everything organized and accessible.
Key Features That Set It Apart
The Schumacher 600A stands out for several reasons:
- 600 peak amps: More than enough for most 12V gasoline engines (up to 6.0L), including sedans, crossovers, and light trucks.
- Built-in LED flashlight: Super handy for nighttime emergencies. It has three modes: steady, SOS, and strobe.
- USB ports: Two USB-A ports let you charge smartphones, tablets, or GPS devices. I’ve used mine to keep my phone alive during long road trips.
- 12V DC outlet: Powers small accessories like air compressors, coolers, or dash cams.
- Reverse polarity protection: If you accidentally connect the clamps backwards, the unit won’t power on—saving your battery and the jump starter from damage.
- Spark-resistant clamps: Designed to prevent sparks when connecting, which is a big safety plus.
- Compact and lightweight: Weighs around 2.5 lbs and fits easily in a glovebox, center console, or under a seat.
One thing I appreciate is the digital display. It shows the battery level (as a percentage), charging status, and error codes if something goes wrong. No guessing games—just clear, real-time feedback.
Understanding the Control Panel
The front of the unit has a simple interface:
- Power button: Turns the unit on/off. Hold for 3 seconds to activate.
- Mode button: Cycles through flashlight modes.
- USB and 12V ports: Clearly labeled and protected by rubber covers.
- LED indicators: Show battery level (green = good, yellow = low, red = critical).
Tip: Press and hold the mode button for 2 seconds to turn off the flashlight—this saves battery if it accidentally turns on in storage.
Step-by-Step Schumacher 600A Jump Starter Instructions
Now for the main event: how to actually use your Schumacher 600A to jump-start a dead car battery. Follow these steps carefully, and you’ll be back on the road in minutes—without needing another vehicle or roadside assistance.
Step 1: Prepare the Vehicle and Jump Starter
- Turn off the vehicle’s ignition and all accessories (radio, lights, AC).
- Set the parking brake and put the transmission in “Park” (for automatics) or “Neutral” (for manuals).
- Open the hood and locate the battery. Look for the positive (+) and negative (−) terminals.
- Check the jump starter’s battery level. If it’s below 50%, charge it before use. (More on charging later.)
- Ensure the jump starter is turned off before connecting clamps.
Example: I once tried to jump my car with the jump starter at 30%—it powered on, but the car wouldn’t start. After charging it fully, the second attempt worked perfectly. Always check the battery level!
Step 2: Connect the Clamps (Red First, Then Black)
- Attach the red clamp to the positive (+) terminal on the dead battery. It’s usually marked with a “+” sign and has a red plastic cover.
- Attach the black clamp to the negative (−) terminal. If the terminal is corroded or hard to reach, connect it to a clean, unpainted metal surface on the engine block (like a bolt or bracket). This acts as a ground.
⚠️ Critical Safety Tip: Never connect the black clamp to the negative battery terminal if the battery is cracked, leaking, or swollen. Sparks near a damaged battery can ignite hydrogen gas—dangerous and potentially explosive. In such cases, use a metal ground point instead.
Step 3: Power On the Jump Starter
- Press and hold the power button for 3 seconds until the display lights up.
- Check the display: You should see the battery level and a “Ready” or “OK” indicator.
- If the clamps are reversed, the unit will flash an error code (usually “Err” or “Rev”). Disconnect, fix the polarity, and try again.
Pro tip: The Schumacher 600A has a “smart clamp” system—if it detects a problem (like reversed polarity or a short), it won’t activate. This is a major safety feature, especially for beginners.
Step 4: Start the Vehicle
- Get in the vehicle and turn the ignition key to “Start.”
- Hold for 3–5 seconds. The engine should crank and start.
- If it doesn’t start on the first try, wait 30 seconds, then try again. Never crank for more than 5 seconds at a time—this can overheat the starter motor.
- After the engine starts, let it run for 1–2 minutes to stabilize.
Real-world example: My neighbor’s truck wouldn’t start on a cold morning. I used the Schumacher 600A, and it fired up on the second try. The jump starter handled the 5.3L V8 engine with ease.
Step 5: Disconnect the Clamps (Black First, Then Red)
- Once the engine is running, turn off the jump starter using the power button.
- Remove the black clamp first, then the red clamp.
- Close the hood and let the vehicle idle for 10–15 minutes to recharge the battery.
Important: Never remove the clamps while the engine is running. Doing so can cause a voltage spike that damages electronics.
Step 6: Store the Jump Starter
- Wipe down the clamps and unit with a dry cloth.
- Recharge the jump starter as soon as possible (ideally within 24 hours).
- Store in a cool, dry place—avoid extreme heat or freezing temperatures.
Bonus tip: I keep mine in a small insulated bag in my trunk. It protects it from temperature swings and keeps it from rolling around.
Charging and Maintaining Your Schumacher 600A
A jump starter is only as good as its charge. Neglecting maintenance can leave you stranded when you need it most. Here’s how to keep your Schumacher 600A in top shape.
How to Recharge the Unit
- Use the included USB cable and a wall charger (5V/2A recommended) or plug into your car’s 12V outlet with the DC adapter.
- Plug the USB cable into the “Input” port on the jump starter.
- The LED display will show the charging progress. A full charge takes 3–4 hours.
- When fully charged, the display will show 100% and the charging light will turn green.
Note: Avoid using fast chargers (like 9V or 12V USB-C PD). They can damage the internal battery over time. Stick to standard 5V charging.
Charging Frequency
- After every use: Even if it only delivered a partial jump, recharge it fully.
- Every 3 months: If unused, charge it to prevent deep discharge. Lithium-ion batteries degrade if left at 0% for long periods.
- Before long trips: Always top it off before a road trip or winter season.
I set a calendar reminder every 90 days to check and charge my unit. It takes 5 minutes and gives me peace of mind.
Storage Best Practices
- Store at 50–80% charge if not using for extended periods (e.g., summer vs. winter).
- Keep in temperatures between 32°F and 104°F (0°C to 40°C). Avoid leaving it in a hot car in summer or a freezing garage in winter.
- Store clamps separately or in a protective case to prevent accidental short-circuiting.
One mistake I made: I left my jump starter in the trunk during a heatwave. The battery drained faster than usual. Now I check it more often in extreme weather.
Common Mistakes and Troubleshooting Tips
Even with the best intentions, things can go wrong. Here are the most common issues users face—and how to fix them.
Jump Starter Won’t Power On
- Cause: Dead battery, faulty power button, or internal protection tripped.
- Fix: Recharge the unit. If it still won’t turn on, let it sit plugged in for 1 hour (sometimes the battery needs a “wake-up” charge). If no luck, contact Schumacher support.
Clamps Are Reversed (Error Code)
- Cause: Red on negative, black on positive.
- Fix: Disconnect clamps, reconnect correctly, and power on again. The unit will not work until polarity is correct.
Car Won’t Start Even After Jump
- Cause: Weak jump starter battery, corroded terminals, or a dead starter motor (not just a dead battery).
- Fix: Ensure the jump starter is fully charged. Clean battery terminals with a wire brush. Try jump-starting again. If still no luck, the issue may be mechanical—call a mechanic.
USB Ports Not Charging
- Cause: Low battery, faulty cable, or port debris.
- Fix: Recharge the unit. Try a different cable. Gently clean ports with compressed air.
Flashlight Stuck On
- Cause: Mode button stuck or accidentally pressed.
- Fix: Press and hold the mode button for 2 seconds to turn off. If it stays on, restart the unit by powering off and on.
One time, my jump starter wouldn’t start my car. I panicked—until I realized the battery terminals were covered in white crust (corrosion). After cleaning them with baking soda and water, the jump worked perfectly. Always inspect the battery first!
Data Table: Schumacher 600A vs. Competitors (Quick Comparison)
| Feature | Schumacher 600A | NOCO Boost Plus GB40 | DBPOWER 600A |
|---|---|---|---|
| Peak Amps | 600A | 1000A | 600A |
| Battery Type | Lithium-ion | Lithium-ion | Lithium-ion |
| USB Ports | 2 x USB-A | 1 x USB-A | 2 x USB-A |
| 12V DC Outlet | Yes | No | Yes |
| Flashlight | 3 modes (steady, SOS, strobe) | 3 modes | 3 modes |
| Reverse Polarity Protection | Yes | Yes | Yes |
| Weight | 2.5 lbs | 2.4 lbs | 3.0 lbs |
| Price (approx.) | $80–$100 | $120–$140 | $70–$90 |
This table shows the Schumacher 600A holds its own against popular models. While the NOCO GB40 has higher peak amps, the Schumacher offers better value with its 12V outlet and dual USB ports. The DBPOWER is cheaper but slightly heavier and lacks some build quality.
Final Thoughts: Is the Schumacher 600A Worth It?
After using the Schumacher 600A for over a year—through winter cold snaps, road trips, and last-minute emergencies—I can confidently say it’s one of the best investments I’ve made for my car. It’s reliable, easy to use, and packed with features that go beyond just jump-starting. Whether you’re a seasoned driver or a new car owner, having a Schumacher 600A jump starter in your vehicle is like carrying a personal roadside assistant.
The Schumacher 600A jump starter instructions are straightforward once you get the hang of them. The key is preparation: keep it charged, store it properly, and know the steps before you need them. Practice the process at home—connect the clamps, power it on, then disconnect. It only takes 5 minutes and will make you feel much more confident when the real moment comes.
One thing I love is the peace of mind it brings. I no longer dread the “click” of a dead battery. I know I can handle it myself. And in a world where time is precious and help isn’t always available, that’s priceless.
So, if you’re on the fence, go for it. Just remember: read the manual, charge it regularly, and keep it accessible. With the right care and these simple Schumacher 600A jump starter instructions, you’ll never be stranded again. Safe travels!
Frequently Asked Questions
How do I use the Schumacher 600A jump starter for the first time?
Before using the Schumacher 600A jump starter, fully charge it using the included AC adapter. Connect the clamps to the battery terminals—red to positive (+) and black to negative (−)—ensuring secure contact before starting your vehicle.
What should I do if the Schumacher 600A jump starter doesn’t turn on?
Check if the battery is charged by plugging it into a power source. If the unit still doesn’t power on, inspect the fuse or contact Schumacher customer support for troubleshooting steps.
Can the Schumacher 600A jump starter be used in cold weather?
Yes, the Schumacher 600A jump starter performs well in cold temperatures, but storing it in a warm place before use improves efficiency. Avoid using it in extreme sub-zero conditions for prolonged periods.
How do I safely disconnect the Schumacher 600A after jump-starting?
Turn off the vehicle first, then remove the black (−) clamp followed by the red (+) clamp. Store the clamps securely to prevent accidental short circuits.
Does the Schumacher 600A have safety protections during use?
Yes, the Schumacher 600A jump starter includes reverse polarity, overload, and spark-proof protections to prevent damage to your vehicle or the device during operation.
How often should I recharge my Schumacher 600A jump starter?
Recharge the unit every 3–6 months if unused to maintain optimal battery health. Always recharge it after every use, especially following a jump-start, to ensure it’s ready for next time.