
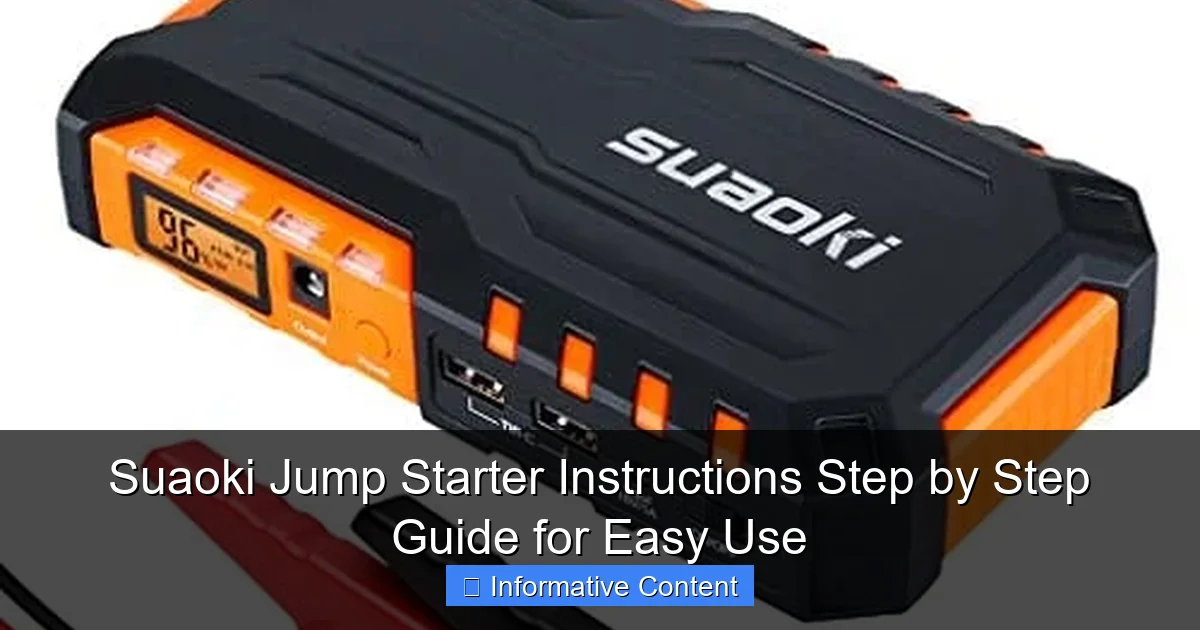
Featured image for suaoki jump starter instructions
Image source: jumpstarter.io
Master your Suaoki jump starter in minutes with this clear, step-by-step guide designed for hassle-free use in any emergency. Follow the simple instructions—from charging the device to safely jump-starting your vehicle—to ensure reliable performance every time.
Key Takeaways
- Always charge fully before first use to maximize jump starter lifespan.
- Connect red clamp first to positive terminal, then black to ground.
- Turn on the device only after clamps are securely attached to battery.
- Wait 30 seconds after powering on before attempting to start the engine.
- Disconnect immediately after successful jump to avoid over-discharging the unit.
- Store in cool, dry place to maintain battery health between uses.
📑 Table of Contents
- Why You Need a Reliable Jump Starter (And Why Suaoki Stands Out)
- Getting Started: Unboxing and Initial Setup
- Step-by-Step: How to Jump Start Your Car with Suaoki
- Beyond Jump Starting: Other Useful Features
- Troubleshooting Common Issues
- Maintenance and Storage Tips
- Final Thoughts: Your Go-To Emergency Tool
Why You Need a Reliable Jump Starter (And Why Suaoki Stands Out)
Picture this: You’re rushing to get to work, the kids are waiting in the car, and you turn the key—only to hear that dreaded click-click-click. The battery is dead. Again. You don’t have jumper cables, and even if you did, there’s no one around to help. This is the moment a portable jump starter like the Suaoki jump starter becomes your best friend. No more awkward calls to coworkers, no more waiting for roadside assistance. Just a compact, powerful device that gets you back on the road in minutes.
Jump starters have evolved from clunky, unreliable tools into sleek, multifunctional powerhouses. Among the most trusted names in this space is Suaoki, a brand known for delivering high-quality, user-friendly portable power solutions. Their jump starters combine robust performance with smart safety features, making them ideal for everyday drivers, off-road adventurers, and even DIY mechanics. But here’s the catch: even the best device is useless if you don’t know how to use it properly. That’s why this guide exists—to walk you through every step of using your Suaoki jump starter, from unboxing to emergency rescue, with zero guesswork.
Getting Started: Unboxing and Initial Setup
What’s in the Box?
When you first open your Suaoki jump starter package, you’ll typically find:
Visual guide about suaoki jump starter instructions
Image source: teklib.com
- The jump starter unit (available in various models like Suaoki G50, G70, G120)
- Heavy-duty jumper cables with smart clamps
- USB charging cable (often Type-C)
- Wall charger and/or car charger
- User manual and quick-start guide
- Carrying case (on higher-end models)
Take a moment to inspect each item. The jumper cables should feel sturdy, with thick insulation and well-secured clamps. The unit itself is usually lightweight—most Suaoki models weigh between 1.5 and 2.5 pounds—but don’t let its size fool you. These little power banks pack a serious punch.
Charging Your Suaoki Jump Starter Before First Use
Before you even think about jumping a car, fully charge your Suaoki jump starter. This is a common oversight, but it’s critical. Most models come with a 50–70% charge out of the box, but for optimal performance and battery longevity, a full charge is best.
Here’s how:
- Plug the included wall charger into a standard outlet.
- Connect the USB-C cable to the jump starter’s input port (usually labeled “DC IN” or “CHARGE”).
- Wait for the LED indicator to show a solid green or full battery icon (this usually takes 3–4 hours).
- Some models, like the G70, have a digital display showing battery percentage—aim for 100%.
Pro Tip: Charge it overnight before a long trip or after any use. A fully charged Suaoki jump starter can hold its charge for up to 6 months when stored properly (in a cool, dry place).
Understanding the Buttons and Indicators
Every Suaoki model has a slightly different layout, but most share these core features:
- Power Button: Turns the device on/off. Press and hold for 3 seconds.
- LED Flashlight: Activated by a dedicated button. Useful in low-light emergencies.
- USB Output Ports: For charging phones, tablets, GPS units, etc.
- Jump Start Port: Where you connect the jumper cables.
- LED Indicators: Show battery level (usually 4 lights or a digital display).
- Safety Warning Light: Flashes if there’s a connection issue (more on this later).
Spend a few minutes exploring the device. Try turning it on, testing the flashlight, and plugging in your phone to get comfortable. You don’t want to be fumbling around in the dark when your car won’t start.
Step-by-Step: How to Jump Start Your Car with Suaoki
Step 1: Safety First – Park and Prepare
Before you even touch the jump starter, make sure your vehicle is in a safe location:
- Park on a flat surface, away from traffic.
- Turn off the ignition and remove the key.
- Engage the parking brake.
- Put the car in “Park” (automatic) or “Neutral” (manual).
- Pop the hood and secure it with the prop rod.
Real-Life Example: I once tried to jump start my SUV on a slight hill. The car rolled a few inches when I released the brake—scary! Always double-check your parking brake. Safety over speed.
Step 2: Connect the Jumper Cables (The Right Way)
This is where most people make mistakes. The Suaoki jump starter uses smart clamps with built-in protection, but you still need to follow the sequence carefully.
- Turn on your Suaoki jump starter using the power button.
- Locate your car’s battery. It’s usually under the hood, but some vehicles (like certain BMWs) hide it in the trunk or under a seat.
- Identify the positive (+) and negative (-) terminals on the battery. They’re clearly marked.
- Connect the red clamp (positive) to the battery’s positive terminal. Make sure it’s clean and tight.
- Connect the black clamp (negative) to an unpainted metal surface on the engine block or chassis. Avoid the negative battery terminal directly—this helps prevent sparks near the battery, which could ignite gas fumes.
Pro Tip: If the battery is corroded, gently clean it with a wire brush. A poor connection can trigger the Suaoki’s safety alert.
Step 3: Wait for the Green Light (Suaoki’s Safety Check)
Once both clamps are connected, the Suaoki jump starter will perform a quick safety check. You’ll see:
- A flashing red light if there’s a reverse polarity issue (e.g., red to negative).
- A solid green light when the connection is correct and safe to proceed.
This is one of Suaoki’s standout features: reverse polarity protection. If you accidentally connect the clamps backward, the device won’t activate—saving your battery, jump starter, and car from damage. No sparks, no smoke, no stress.
Step 4: Start the Engine
With the green light on, you’re ready to go:
- Enter the car and close the door (this helps stabilize the voltage).
- Turn the ignition key to “Start.” Don’t pump the gas—just turn it.
- If the engine doesn’t start immediately, wait 10–15 seconds and try again.
- Most Suaoki models allow 3–5 attempts before requiring a 30-second cooldown.
Real-Life Example: My neighbor’s old Honda Civic wouldn’t start after a cold night. We used the Suaoki G50. First try—nothing. Second try—a sputter. Third try—vroom! It fired up like it was brand new. The key? Patience and following the cooldown rule.
Step 5: Disconnect in Reverse Order
Once the engine is running, disconnect the clamps in this order:
- Remove the black (negative) clamp from the engine block.
- Remove the red (positive) clamp from the battery terminal.
- Turn off the Suaoki jump starter (press and hold the power button).
- Coil the cables neatly and store them in the carrying case.
Important: Never disconnect the clamps while the engine is running. This can create a voltage spike that damages your car’s electronics.
Beyond Jump Starting: Other Useful Features
USB Charging for Devices
Your Suaoki jump starter isn’t just for cars. It’s a portable power bank with USB-A and USB-C ports, perfect for:
- Charging smartphones (most models deliver 10–20W fast charging)
- Powering GPS units or dash cams
- Running a portable fan or LED light during camping trips
I keep my Suaoki G70 in my backpack during hikes. When my phone dies at mile 8, I plug it in and get 50% charge in 30 minutes. It’s a lifesaver.
LED Flashlight with Multiple Modes
Most Suaoki models include a built-in flashlight with:
- High mode: Bright light for under-the-hood work
- Strobe mode: Emergency signaling (great for breakdowns at night)
- SOS mode: Flashes in a distress pattern (activate by pressing the flashlight button 3 times)
During a recent roadside repair at dusk, the strobe mode helped a passing driver notice us and stop to help. Small feature, big impact.
Air Compressor (On Select Models)
Higher-end Suaoki jump starters, like the G120, come with a built-in 150 PSI air compressor. Use it to:
- Inflate flat tires (with the right nozzle attachment)
- Pump up bike tires, sports balls, or air mattresses
The compressor has an auto-shutoff feature, so you can set the PSI and walk away. No more guesswork or over-inflated tires.
Troubleshooting Common Issues
Jump Starter Won’t Turn On
If your Suaoki doesn’t power on, try these fixes:
- Low Battery: Plug it in for at least 30 minutes. Sometimes the battery needs a “jump start” of its own.
- Overheating: Let it cool for 15–20 minutes. High temperatures can trigger a safety lock.
- Faulty Charger: Try a different USB-C cable or wall adapter.
I once left my Suaoki in a hot car trunk during summer. When I tried to use it later, it wouldn’t turn on. After cooling it in the shade for 20 minutes, it worked perfectly.
Red Light Flashing During Connection
This means the Suaoki detected a problem. Check:
- Clamp Polarity: Are the red and black clamps on the correct terminals?
- Loose Connection: Wiggle the clamps to ensure they’re tight.
- Corroded Battery: Clean the terminals with a baking soda and water mix.
Pro Tip: The Suaoki G70 has a digital display that shows error codes (e.g., “E1” for reverse polarity). Refer to your manual for details.
Engine Still Won’t Start
If the car doesn’t start after 3 attempts:
- Wait 30 seconds between tries to let the jump starter cool.
- Check the battery voltage: A completely dead battery may need to charge for 1–2 minutes before attempting to start.
- Inspect the starter motor: If you hear a clicking sound, the starter may be faulty—not the battery.
Remember: A jump starter can’t fix a dead starter or alternator. It only helps when the battery is the issue.
Maintenance and Storage Tips
Keep It Charged
Even when not in use, lithium batteries degrade over time. To extend your Suaoki’s lifespan:
- Charge it every 3–6 months if stored long-term.
- Use a smart charger with overcharge protection.
- Avoid storing it in extreme temperatures (below 32°F or above 104°F).
Clean and Inspect Regularly
Every few months:
- Wipe the clamps with a dry cloth to remove dust and corrosion.
- Check for frayed wires or loose connections.
- Test the flashlight and USB ports.
Data Table: Suaoki Jump Starter Maintenance Schedule
| Task | Frequency | Notes |
|---|---|---|
| Full Charge | Every 3–6 months | Prevents deep discharge |
| Clamp Inspection | Monthly | Look for corrosion or damage |
| USB/Port Test | Every 2 months | Ensure all functions work |
| Firmware Update (if applicable) | Annually | Check Suaoki’s website |
Final Thoughts: Your Go-To Emergency Tool
Using a Suaoki jump starter isn’t just about rescuing a dead battery—it’s about peace of mind. Whether you’re stranded on a remote highway, dealing with a frozen winter morning, or just helping a friend in need, this compact device puts power back in your hands (literally). The step-by-step process is simple, the safety features are top-notch, and the added perks like USB charging and a built-in flashlight make it a true multitool.
After years of using various models—from the budget-friendly G50 to the feature-packed G120—I can confidently say Suaoki delivers on its promises. Yes, you’ll pay a bit more than for a no-name brand, but you’re getting reliability, smart engineering, and a product designed to last. And let’s be honest: when you’re standing in the rain with a dead battery, you don’t want to gamble on “cheap.”
So keep your Suaoki jump starter charged, store it in your trunk (not the glove box—it needs airflow), and practice the steps once or twice. The next time your car won’t start, you’ll be ready. No panic. No waiting. Just a quick connection, a green light, and the roar of your engine coming back to life. That’s the power of being prepared.
Frequently Asked Questions
How do I use the Suaoki jump starter for the first time?
Begin by fully charging your Suaoki jump starter using the included USB cable. Connect the clamps to the battery terminals (red to positive, black to negative), then start your vehicle—always follow the Suaoki jump starter instructions for safety.
Can the Suaoki jump starter work on all car battery types?
Yes, most Suaoki models support 12V lead-acid and lithium-ion batteries, commonly found in cars, SUVs, and motorcycles. Check your device’s manual to confirm compatibility with your vehicle’s battery specifications.
What should I do if my Suaoki jump starter doesn’t turn on?
Ensure the device is charged for at least 2-3 hours. If it still doesn’t power on, inspect the power button and connections—refer to the Suaoki jump starter instructions troubleshooting section for reset steps.
How do I charge devices using the Suaoki jump starter’s USB ports?
Turn on the jump starter, then plug your device into the USB port. The Suaoki automatically detects and delivers optimal charging current, making it perfect for phones, tablets, and other electronics.
Is it safe to leave the Suaoki jump starter connected to the car battery?
No, always disconnect after use to prevent battery drain. The built-in protection circuits guard against overvoltage, but prolonged connection may reduce the jump starter’s lifespan.
What do the indicator lights on my Suaoki jump starter mean?
Solid blue lights show charge level (1-4 bars), while flashing red indicates an error (e.g., reversed clamps). Consult the guide for detailed explanations of each LED pattern.