

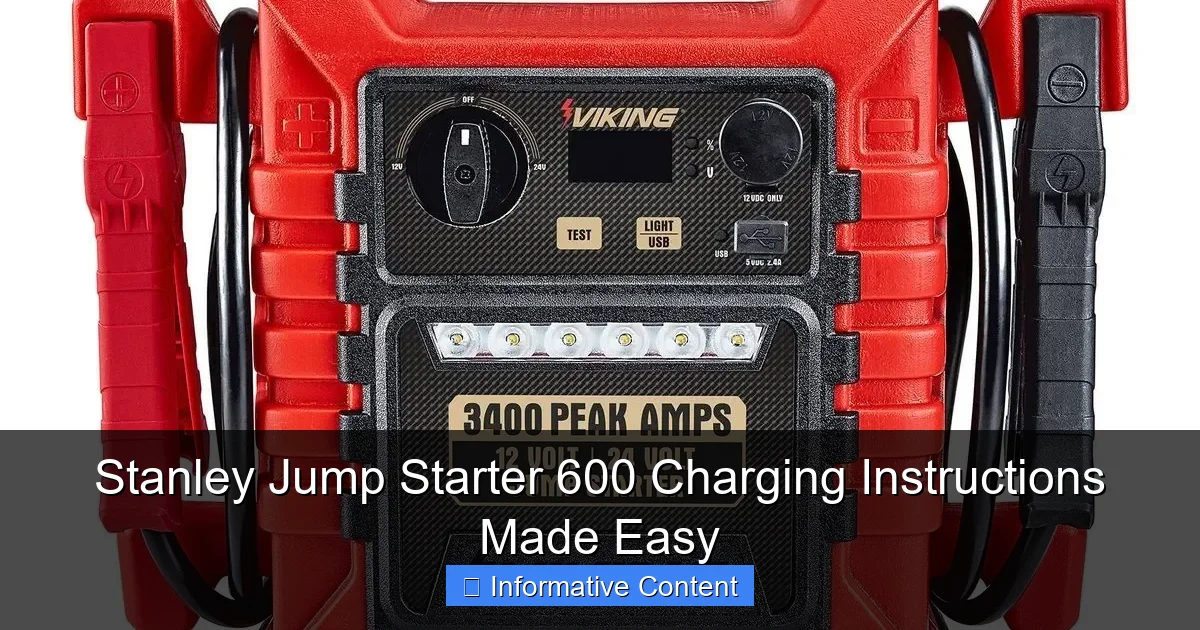
Featured image for stanley jump starter 600 charging instructions
Image source: m.media-amazon.com
Charge your Stanley Jump Starter 600 safely and efficiently by connecting the included AC adapter to the input port and plugging it into a standard wall outlet—avoid using incompatible chargers to prevent damage. Monitor the LED indicator lights closely: solid red means charging, green signals full charge, and a flashing light warns of an issue. Always store the unit in a cool, dry place after charging for peak performance.
Key Takeaways
- Always charge fully before first use to ensure peak performance and battery longevity.
- Use the included AC adapter for safe, reliable charging from a wall outlet.
- Monitor the LED indicator to confirm charging status and avoid overcharging.
- Charge every 30 days if stored to maintain optimal battery health.
- Never jump-start a frozen battery—thaw first to prevent damage or injury.
- Keep terminals clean and dry to ensure efficient charging and long-term durability.
📑 Table of Contents
- Why the Stanley Jump Starter 600 Is a Lifesaver (And How to Keep It Ready)
- Getting to Know Your Stanley Jump Starter 600
- How to Charge Your Stanley Jump Starter 600 (Step-by-Step)
- Best Charging Habits to Extend Battery Life
- Common Charging Problems (And How to Fix Them)
- Data Table: Charging Comparison & Quick Reference
- Final Thoughts: Keep Your Hero Ready
Why the Stanley Jump Starter 600 Is a Lifesaver (And How to Keep It Ready)
Let’s face it—getting stuck with a dead car battery is one of those moments that makes you question all your life choices. I remember one cold winter morning, rushing to get my kid to school, only to hear that dreaded *click-click-click* when I turned the key. No power. No movement. Just silence. That’s when my Stanley Jump Starter 600 became my personal superhero. Compact, reliable, and surprisingly easy to use, it got me back on the road in under three minutes. But here’s the catch: like any hero, it needs to be charged and ready for action.
That’s where many people trip up. They buy a jump starter, use it once or twice, then toss it in the trunk and forget about it—until the next emergency. The truth? Your Stanley Jump Starter 600 won’t save you if it’s as dead as your car battery. That’s why understanding the Stanley Jump Starter 600 charging instructions is crucial. It’s not just about plugging it in; it’s about knowing the right way, the right time, and the right habits to keep it in top shape. In this guide, I’ll walk you through everything you need to know—step by step, with real-life tips and no fluff—so your jump starter is always ready when you need it most.
Getting to Know Your Stanley Jump Starter 600
What’s in the Box?
When you unbox your Stanley Jump Starter 600, you’ll find more than just a battery pack. It comes with:
Visual guide about stanley jump starter 600 charging instructions
Image source: harborfreight.com
- The main unit (about the size of a thick hardcover book)
- A set of heavy-duty jumper cables with clamps
- A 12V DC charging cable (for car cigarette lighter)
- A 120V AC wall charger (standard household plug)
- User manual and safety guide
The unit itself feels solid—durable plastic with rubberized grips, making it easy to handle, even in cold or wet conditions. On the front, you’ll see an LED battery indicator (four bars), a power button, USB ports, a 12V outlet, and a charging port. Flip it over, and you’ll find the jumper cable storage compartment.
Key Features That Matter
Before we dive into charging, let’s talk about what makes the Stanley Jump Starter 600 special:
- 600 Peak Amps—enough to jump-start most cars, trucks, SUVs, and even small boats
- 12V DC and USB Outputs—charge phones, tablets, GPS devices, or run a 12V cooler
- Built-in LED Flashlight—three modes: bright, strobe, SOS—perfect for roadside emergencies
- Reverse Polarity Alarm—a safety feature that beeps if you connect the clamps wrong
- Compact and Lightweight—weighs just under 4 pounds, so it won’t take up much space in your trunk
What I love most? It’s not just a jump starter—it’s a mini power station. I’ve used it to charge my phone during a camping trip, power a fan in a stalled RV, and even run a small air compressor once. But none of this matters if it’s not charged.
Why Charging Isn’t Optional
Think of your jump starter like a fire extinguisher. You don’t use it every day, but when you need it, it better work. The Stanley 600 uses a lithium-ion battery, which is great for energy density and longevity—but only if maintained properly. Let it sit for months without charging, and you risk:
- Reduced battery capacity
- Slower jump-start performance
- Permanent damage from deep discharge
I learned this the hard way. I once ignored my unit for six months, only to find it wouldn’t hold a charge. A quick call to Stanley’s customer service confirmed: “It’s like a phone battery—it needs regular top-ups.” Lesson learned.
How to Charge Your Stanley Jump Starter 600 (Step-by-Step)
Method 1: Using the AC Wall Charger (Best for Home Charging)
This is the most common and reliable way to charge. Here’s how:
- Locate the charging port—it’s on the side, usually labeled “DC IN 15V”.
- Plug in the AC charger—connect the wall adapter to a standard 120V outlet.
- Connect the DC end to the jump starter—push it in until it clicks.
- Press the power button once—this activates the battery indicator.
- Watch the LED bars—they’ll light up one by one as it charges.
Tip: I keep mine plugged in overnight after every use. It takes about 4–6 hours for a full charge, but I never wait that long. I just plug it in when I get home, and it’s ready by morning.
Method 2: Charging in Your Car (12V DC Cable)
Great for road trips or when you’re away from home. Use the included 12V cable:
- Start your car’s engine—this ensures the 12V outlet is powered.
- Plug the 12V cable into the cigarette lighter—make sure it fits snugly.
- Connect the other end to the jump starter—same DC IN port.
- Press the power button—the LED bars will show charging progress.
Important: Never charge the jump starter while the engine is off. The car’s battery can’t sustain the draw, and you risk draining both batteries. I once tried this during a long drive—bad idea. My car battery died, and the jump starter only got 20% charged. Always run the engine.
How to Tell When It’s Fully Charged
The LED indicator is your best friend. Here’s what the bars mean:
- 1 bar (25%)—Low charge. Use only for emergencies.
- 2 bars (50%)—Good for one jump-start, but recharge soon.
- 3 bars (75%)—Ready for use, but not fully optimized.
- 4 bars (100%)—Fully charged. Ideal for storage.
When all four bars are lit and steady (not blinking), it’s fully charged. If the bars flash, it means the battery is low or there’s a charging issue. Unplug and try again. If it keeps flashing, see the troubleshooting section below.
Charging Time Estimates
Charging speed depends on the method and current charge level:
- AC Wall Charger (from 0% to 100%)—4 to 6 hours
- 12V Car Charger (from 25% to 100%)—3 to 5 hours (with engine running)
- Top-up (from 50% to 100%)—1 to 2 hours via AC
Pro Tip: I use a smart power strip with a timer. I set it to cut power after 6 hours, so I never overcharge. Lithium-ion batteries don’t like being left plugged in indefinitely.
Best Charging Habits to Extend Battery Life
Charge After Every Use (Yes, Every Single Time)
I used to think, “It still has two bars—I’ll wait until it’s lower.” Big mistake. Lithium-ion batteries degrade faster when left in a partial state of charge. The Stanley manual recommends recharging immediately after use. Even if you only used it for a quick jump, plug it in. Think of it like brushing your teeth—small habit, big payoff.
Storage Charging: The 50% Rule
If you’re storing your jump starter for more than a month (say, in a garage or RV), charge it to 50% (2 bars) before putting it away. Why? Lithium-ion batteries lose about 5% charge per month. If you store it at 100%, it might drop to 70% in six months—still usable, but not ideal. If you store it at 50%, it’ll be around 20–25% after six months, which is the sweet spot for battery health.
I learned this after my unit sat in a hot garage for three months. It dropped to 10%, and the battery took longer to charge. Now, I charge it to 50% before summer storage and top it off before winter.
Temperature Matters: Keep It Cool
Heat is the enemy of lithium-ion batteries. Never charge or store your Stanley 600 in:
- Direct sunlight (like on a dashboard)
- Inside a hot car (temperatures can exceed 150°F)
- Near a heater or radiator
The ideal temperature range is 68°F to 77°F (20°C to 25°C). If your garage gets hot, store it in a shaded, ventilated area. I keep mine in a small toolbox under the workbench—cool, dry, and out of the way.
Use It Regularly (Even If You Don’t Need To)
Batteries hate inactivity. I charge my jump starter once a month, even if I haven’t used it. This keeps the cells active and prevents “memory effect” issues (though lithium-ion is less prone, it still helps). I also test the flashlight and USB ports monthly—it’s a quick way to ensure everything’s working.
Common Charging Problems (And How to Fix Them)
Problem: No LED Lights When Plugged In
Possible Causes:
- Faulty charger (AC or DC)
- Damaged charging port
- Dead battery (rare, but possible)
What to Do:
- Try a different outlet or car socket.
- Inspect the charging cable for frayed wires.
- Clean the charging port with a dry toothbrush (no liquids!).
- If still no luck, contact Stanley support—they offer a 1-year warranty.
I once had a charger that stopped working after a power surge. Stanley sent a replacement for free—great customer service.
Problem: Charging Is Very Slow
Possible Causes:
- Using a low-power 12V outlet (some cars have weak sockets)
- Damaged or low-quality charging cable
- Extremely cold temperatures (below 32°F/0°C)
What to Do:
- Use the AC charger instead—it’s faster and more reliable.
- Try a different 12V socket (some cars have multiple).
- Warm the unit to room temperature before charging.
In winter, I keep my jump starter in the house the night before a trip. It charges faster and performs better.
Problem: Battery Drains Quickly After Charging
Possible Causes:
- Old battery (lithium-ion lasts 3–5 years with proper care)
- Frequent deep discharges
- Parasitic drain (rare, but possible if internal circuits are faulty)
What to Do:
- Check the battery health—after 3 years, consider replacing it.
- Always recharge after use—don’t let it sit below 25%.
- If it still drains fast, contact Stanley for a battery replacement or repair.
Data Table: Charging Comparison & Quick Reference
| Charging Method | Time to Full (0–100%) | Best For | Pros | Cons |
|---|---|---|---|---|
| AC Wall Charger | 4–6 hours | Home, garage, office | Fast, reliable, consistent | Requires outlet access |
| 12V Car Charger | 3–5 hours | Road trips, remote areas | Portable, no extra gear | Slower, needs running engine |
| Partial Top-Up (50–100%) | 1–2 hours (AC) | Monthly maintenance | Quick, convenient | Not a full charge |
| Storage Charge (0–50%) | 1–2 hours | Long-term storage | Extends battery life | Must recharge before use |
Final Thoughts: Keep Your Hero Ready
Your Stanley Jump Starter 600 isn’t just a gadget—it’s peace of mind. Whether you’re stuck on a dark road, camping off-grid, or just want to help a neighbor in need, it’s there when you need it. But that peace of mind only lasts if you follow the Stanley Jump Starter 600 charging instructions consistently.
Here’s my simple checklist to keep it ready:
- After every use: Plug it in with the AC charger.
- Before storage: Charge to 50%, then store in a cool, dry place.
- Monthly: Top it up, test the flashlight and USB ports.
- When in doubt: Check the LED bars—four solid bars mean you’re golden.
I’ve had my Stanley 600 for over three years now. It’s saved me (and my friends) more times than I can count. And the secret? I treat it like a trusted tool, not a forgotten box in the trunk. A few minutes of charging now can save you hours of stress later.
So, next time you use it—or even if you don’t—take two minutes to plug it in. Your future self will thank you. And who knows? You might just become someone else’s roadside hero.
Frequently Asked Questions
How do I charge the Stanley Jump Starter 600 for the first time?
For the first charge, connect the Stanley Jump Starter 600 to a wall outlet using the included AC adapter. Ensure the battery is fully charged (indicated by a solid green LED) before use to maximize performance.
Can I use a car charger to recharge the Stanley Jump Starter 600?
Yes, the Stanley Jump Starter 600 charging instructions include using the 12V DC car charger (included). Plug it into your vehicle’s cigarette lighter socket and charge while driving or with the engine running.
How long does it take to fully charge the Stanley Jump Starter 600?
Charging time varies but typically takes 24-48 hours via AC outlet. The LED indicator will turn solid green when the Stanley Jump Starter 600 is fully charged and ready for use.
Why won’t my Stanley Jump Starter 600 hold a charge?
This may occur due to prolonged storage or extreme temperatures. Follow the charging instructions carefully, and if issues persist, reset the unit or contact Stanley customer support for troubleshooting.
Is it safe to leave the Stanley Jump Starter 600 plugged in overnight?
Yes, the built-in overcharge protection ensures safety during extended charging. Once fully charged, the unit automatically stops charging to preserve battery health.
What do the LED lights mean during Stanley Jump Starter 600 charging?
A flashing red LED indicates charging in progress, solid red means fault/error, and solid green confirms a full charge. Always refer to the manual for detailed LED status codes.