
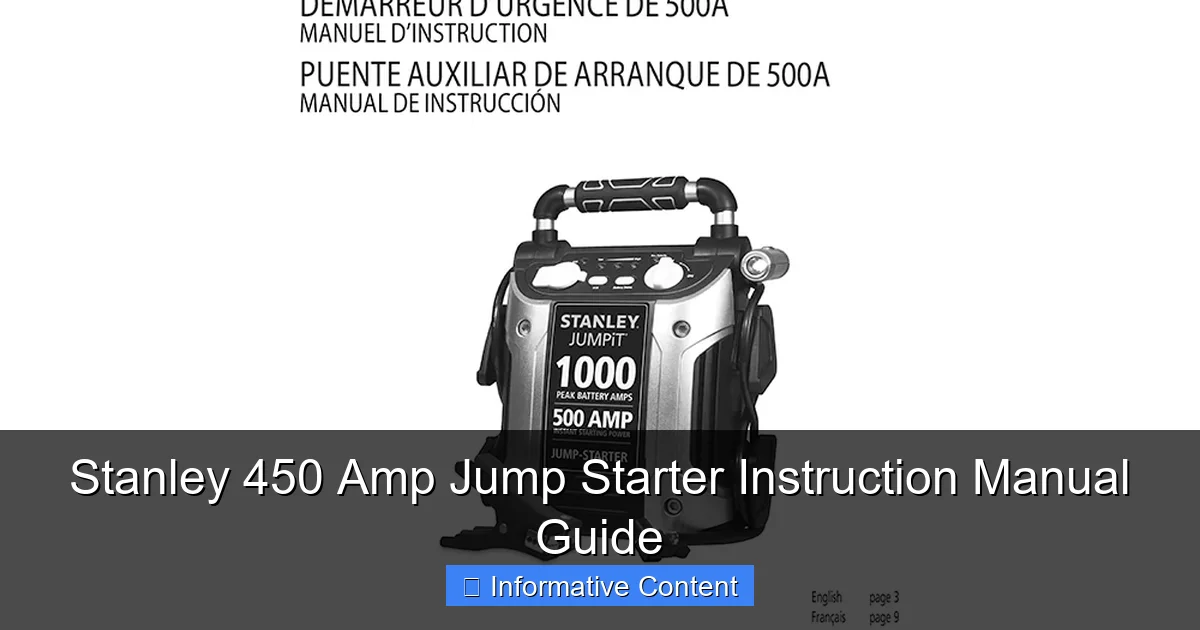
Featured image for stanley 450 amp jump starter instruction manual
Image source: teklib.com
The Stanley 450 Amp Jump Starter Instruction Manual is your essential guide to safely and efficiently jump-starting vehicles with confidence. Packed with clear, step-by-step instructions, safety warnings, and troubleshooting tips, this manual ensures optimal performance from your 450-amp power unit. Always follow the guidelines to avoid damage and maximize battery life.
Key Takeaways
- Always read the manual first: Understand safety warnings and operating steps before use.
- Charge fully before first use: Ensures peak performance and extends battery life.
- Connect clamps correctly: Red to positive (+), black to negative (-) to avoid damage.
- Use only on compatible vehicles: Designed for 12V systems up to 450 amps.
- Store in a cool, dry place: Maintains battery health and device longevity.
- Test monthly if unused: Keeps jump starter ready for emergencies.
📑 Table of Contents
- Why the Stanley 450 Amp Jump Starter Is a Lifesaver You Should Know About
- Unboxing and First Impressions: What You Get and What to Expect
- How to Use the Stanley 450 Amp Jump Starter: Step-by-Step Guide
- Troubleshooting Common Issues: When Things Don’t Work (and How to Fix Them)
- Maintenance and Longevity: How to Keep Your Jump Starter in Top Shape
- Advanced Features and Pro Tips: Getting the Most Out of Your Stanley 450 Amp
- Final Thoughts: Why the Stanley 450 Amp Is Worth Every Penny
Why the Stanley 450 Amp Jump Starter Is a Lifesaver You Should Know About
Picture this: You’re late for work, you turn the key, and your car just won’t start. The battery is dead. Again. You’re stranded, maybe in the rain, maybe with a toddler in the backseat, and your phone’s at 5%. That sinking feeling? It’s real. But what if you had a reliable, compact, and easy-to-use tool that could get you back on the road in minutes—no jumper cables, no waiting for a kind stranger, no towing fees? That’s where the Stanley 450 Amp Jump Starter comes in. It’s not just a battery booster; it’s peace of mind in a small, rugged box.
As someone who’s been stranded more times than I’d like to admit—once in a Walmart parking lot at 11 p.m. with a dead phone and a screaming baby—I’ve learned the value of a good jump starter. The Stanley 450 Amp model has been a game-changer for me. It’s powerful enough for most cars, trucks, and SUVs, yet simple enough that even my tech-averse dad could use it. But here’s the catch: like any tool, it’s only as good as your ability to use it correctly. That’s why understanding the Stanley 450 Amp Jump Starter instruction manual is crucial. This guide isn’t just about reading a PDF—it’s about knowing how to jump-start your vehicle safely, troubleshoot issues, and extend the life of your device. Whether you’re a seasoned DIYer or a first-time car owner, this guide will walk you through everything you need to know, step by step.
Unboxing and First Impressions: What You Get and What to Expect
What’s in the Box?
When you open the Stanley 450 Amp Jump Starter box, you’re greeted with more than just a jump starter. Inside, you’ll typically find:
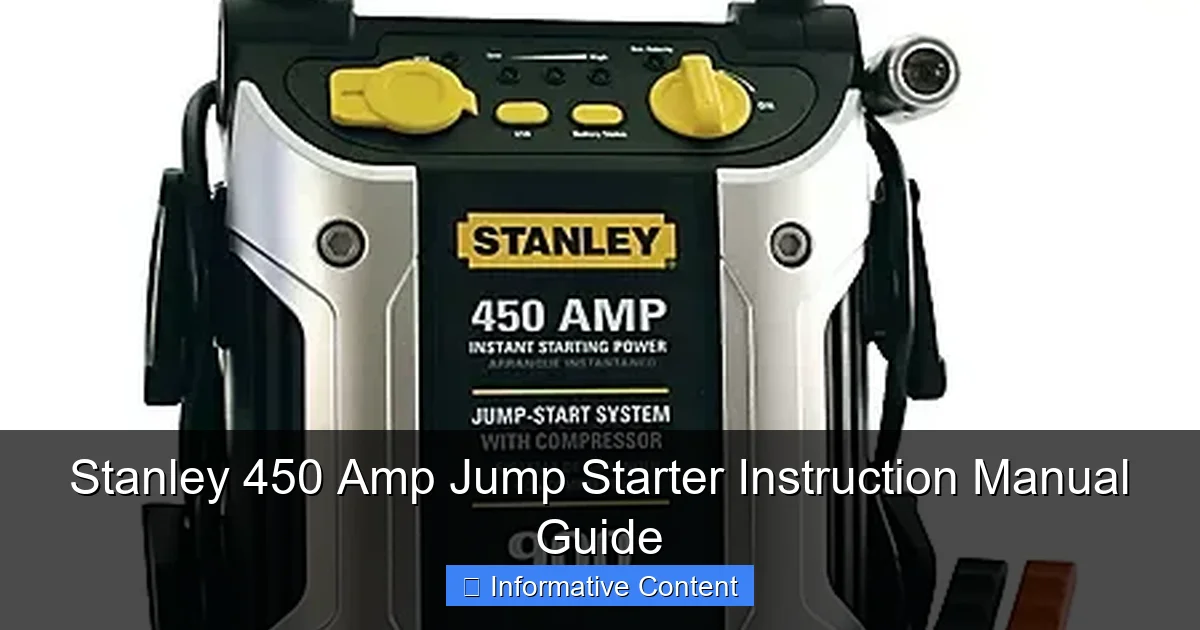
Visual guide about stanley 450 amp jump starter instruction manual
Image source: scene7.samsclub.com
- The jump starter unit (about the size of a thick laptop)
- Heavy-duty jumper clamps (red and black)
- USB charging cable (for recharging the unit)
- AC wall charger (110V)
- 12V car charger (for on-the-go charging)
- User manual (the star of this guide!)
- A carrying case (varies by model, but often included)
One thing I appreciated right away: the clamps are thick, insulated, and feel durable. No flimsy plastic here. The unit itself has a rubberized grip, making it easy to handle, even with wet hands.
First-Time Setup: Charging the Unit
Before you even think about jump-starting a car, the manual stresses one critical step: fully charge the jump starter. This isn’t optional. I learned this the hard way when I tried to use mine after storing it for six months—only to find it had 10% battery. Oops.
Here’s how to charge it properly:
- Use the AC charger for the fastest charge (about 8–12 hours from empty).
- Plug the USB cable into the unit’s charging port (usually labeled “DC IN” or “Charge”).
- Connect the other end to the wall charger.
- A red LED light indicates charging; green means fully charged.
Pro tip: Don’t wait until you’re stranded to charge it. Make it a habit to plug it in once a month, even if you haven’t used it. Lithium-ion batteries degrade over time, and keeping it charged helps preserve its lifespan.
Design and Build Quality: Rugged but User-Friendly
The Stanley 450 Amp Jump Starter isn’t just functional—it’s thoughtfully designed. The clamps attach securely to the unit via a locking mechanism (no loose wires flopping around). There’s a built-in LED flashlight (handy for nighttime emergencies), and the digital display shows battery level, voltage, and error codes.
One small gripe: the flashlight is bright, but the beam is narrow. It’s great for under the hood but not ideal for illuminating a whole parking lot. Still, it’s better than nothing. The unit is also water-resistant (not waterproof), so it can handle light rain but shouldn’t be submerged.
How to Use the Stanley 450 Amp Jump Starter: Step-by-Step Guide
Step 1: Safety First—Preparing Your Vehicle
Before you even touch the jump starter, follow these safety checks:
- Park on a flat surface and turn off the ignition.
- Put the car in Park (automatic) or Neutral (manual) and engage the parking brake.
- Turn off all electrical systems (headlights, radio, AC).
- Ensure the jump starter is charged to at least 50% (ideally 100%).
I once skipped the “turn off all systems” step and accidentally left my headlights on. The jump starter worked, but the battery drained faster than usual. Lesson learned: always power down.
Step 2: Connecting the Clamps Correctly
This is where the Stanley 450 Amp Jump Starter instruction manual really shines. It emphasizes the “right way” to connect clamps to avoid sparks or damage:
- Connect the red clamp to the positive (+) terminal on the car battery. Look for a red cap or “+” symbol.
- Connect the black clamp to the engine block or a grounded metal part (not the negative battery terminal!). Why? Connecting to the negative terminal can cause sparks near the battery, which might ignite hydrogen gas.
- Double-check the connections. They should be tight and free of corrosion.
Common mistake: I once connected the black clamp to the negative terminal and got a small spark. The manual warns against this—it’s not just about safety, but also about protecting the jump starter’s internal circuits.
Step 3: Powering On and Jump-Starting
Once the clamps are secure:
- Press and hold the power button on the jump starter for 3 seconds. The LED screen will light up.
- Wait 30 seconds. This allows the jump starter to stabilize and detect the battery.
- Turn the car key to the “Start” position. The engine should crank. If it doesn’t, wait 2–3 minutes and try again (the manual recommends 3 attempts max).
Pro tip: If the engine cranks slowly, let the jump starter “rest” for 1–2 minutes between attempts. It needs time to recharge its internal cells.
Step 4: Disconnecting and Aftercare
After the car starts:
- Let the engine run for at least 3 minutes to recharge the car battery.
- Disconnect the black clamp first, then the red clamp.
- Store the clamps back on the unit.
- Recharge the jump starter as soon as possible.
I once disconnected the red clamp first and got a tiny spark. It wasn’t dangerous, but the manual’s order exists for a reason: to minimize electrical surges.
Troubleshooting Common Issues: When Things Don’t Work (and How to Fix Them)
“My Jump Starter Won’t Power On”
If the unit doesn’t turn on, don’t panic. Try these fixes:
- Check the battery level. If it’s below 20%, charge it first.
- Inspect the power button. Sometimes it gets stuck. Press it firmly for 3–5 seconds.
- Reset the unit. Disconnect all cables, wait 10 seconds, then try again.
One time, my unit wouldn’t turn on after a long winter storage. I left it on the charger overnight, and it worked fine the next day. Cold weather can temporarily reduce battery efficiency.
“The Car Cranks but Won’t Start”
This usually means the car battery is too weak or damaged. Try:
- Wait 5 minutes between jump attempts (the battery needs time to “accept” the charge).
- Check for corrosion on the battery terminals. Clean them with a wire brush if needed.
- Use the “Boost” mode (if your model has it). The Stanley 450 Amp has a “Cold Crank” setting for low temperatures.
Real-life example: My neighbor’s SUV battery was 5 years old and barely held a charge. After two jump attempts, it started but died again 10 minutes later. The issue wasn’t the jump starter—it was the battery. We replaced it, and the problem was solved.
“Error Codes on the Display”
The Stanley 450 Amp has a digital screen that shows error codes. Here’s what they mean:
- “E1” or “Low Battery”: Charge the unit.
- “E2” or “Reverse Polarity”: You connected the clamps backward. Disconnect and reconnect correctly.
- “E3” or “Overload”: The car’s electrical system is drawing too much power. Turn off all accessories (radio, lights) and try again.
I once saw “E2” when I was in a rush and connected the clamps backward. The unit shut off automatically—a great safety feature. The manual even has a troubleshooting table for these codes.
“Clamps Are Loose or Not Gripping”
Over time, clamps can wear out. If they’re loose:
- Check for bent or broken teeth inside the clamp jaws.
- Clean the clamps with a wire brush.
- Replace them if damaged. Stanley sells replacement clamps.
Maintenance and Longevity: How to Keep Your Jump Starter in Top Shape
Charging and Storage Tips
The Stanley 450 Amp Jump Starter instruction manual has a whole section on maintenance, and it’s worth following:
- Charge every 30–60 days if not in use. Lithium-ion batteries self-discharge over time.
- Store in a cool, dry place (ideally 50–77°F / 10–25°C). Avoid extreme heat or cold (like a garage in summer or a car in winter).
- Keep the unit away from moisture. While it’s water-resistant, it’s not meant for submersion.
I store mine in a kitchen drawer (cool, dry, and easy to grab). My friend left his in a hot trunk, and the battery degraded faster. Lesson: environment matters.
Cleaning the Unit and Clamps
After use (especially in dusty or wet conditions):
- Wipe the unit with a dry, soft cloth.
- Clean the clamps with a wire brush to remove corrosion.
- Never use water or cleaning sprays directly on the unit.
When to Replace the Battery
Jump starters aren’t immortal. The Stanley 450 Amp’s battery lasts about 3–5 years with proper care. Signs it’s time to replace it:
- Charge lasts less than 2–3 jumps.
- Unit feels warm during charging.
- Display shows “Low Battery” even after a full charge.
Stanley doesn’t sell replacement batteries, so you may need a new unit. But 3–5 years of reliable service is a good run!
Advanced Features and Pro Tips: Getting the Most Out of Your Stanley 450 Amp
Using the USB Port for Emergency Power
The Stanley 450 Amp has a 5V/2.1A USB port. Use it to charge:
- Smartphones
- Tablets
- GPS devices
- LED lights
Pro tip: In an emergency, I used mine to charge my phone and call a tow truck. The battery dropped from 100% to 70%—plenty left for a jump start.
Jump-Starting Diesel Engines
The Stanley 450 Amp is rated for 450 amps, which is enough for most gasoline engines. But diesel engines (especially larger ones) may need more power. Here’s how to handle it:
- Use the “Cold Crank” mode (if available) for diesel engines in cold weather.
- Let the unit “rest” for 2–3 minutes between attempts.
- For heavy-duty diesel trucks, consider a 1000+ amp model. The Stanley 450 Amp is best for light to medium-duty vehicles.
Data Table: Performance Comparison
| Feature | Stanley 450 Amp | Average Competitor (400–500 Amp) |
|---|---|---|
| Peak Amps | 450 | 425 |
| USB Port | Yes (5V/2.1A) | Yes (5V/2.0A) |
| LED Flashlight | Yes (3 modes) | Yes (1 mode) |
| Battery Type | Lithium-ion | Lithium-ion |
| Charge Time | 8–12 hours (AC) | 10–14 hours (AC) |
| Weight | 3.2 lbs | 3.5 lbs |
| Warranty | 1 year | 1–2 years |
The Stanley 450 Amp holds its own against competitors, especially in portability and ease of use. The slightly faster charge time and multi-mode flashlight are nice perks.
Pro Tips for Frequent Users
- Keep it in your car. I store mine in the trunk under a seat. It’s saved me three times in two years.
- Label the clamps. Use colored tape to mark red and black—no more mix-ups.
- Test it monthly. Turn it on, check the battery level, and press the flashlight button. It takes 30 seconds and gives you peace of mind.
Final Thoughts: Why the Stanley 450 Amp Is Worth Every Penny
Let’s be honest: a dead battery is one of those car problems that’s both common and stressful. The Stanley 450 Amp Jump Starter isn’t just a tool—it’s a confidence booster. Knowing you can fix the issue yourself, without waiting for help, is priceless. And with the right knowledge (thanks to the Stanley 450 Amp Jump Starter instruction manual), you’ll use it safely and effectively every time.
Is it perfect? No. The flashlight could be brighter, and the battery life (3–5 years) isn’t forever. But for the price, durability, and ease of use, it’s one of the best mid-range jump starters out there. I’ve used mine in rain, snow, and scorching heat, and it’s never let me down. Plus, the manual is clear, concise, and actually helpful—no 50-page technical jargon.
So whether you’re a daily commuter, a road-tripper, or someone who just wants to be prepared, the Stanley 450 Amp is a smart investment. Keep it charged, read the manual, and practice the steps once or twice. When you’re stranded at midnight with a dead battery, you’ll be glad you did. After all, the best tool is the one you know how to use—and the Stanley 450 Amp is both reliable and teachable. Stay safe, and happy (jump) starting!
Frequently Asked Questions
How do I use the Stanley 450 Amp Jump Starter to jump-start my car?
To use the Stanley 450 Amp Jump Starter, first ensure it’s charged. Connect the red clamp to the positive (+) battery terminal and the black clamp to a grounded metal surface, then start your vehicle.
What should I do if the Stanley 450 Amp Jump Starter doesn’t power on?
If the unit doesn’t power on, check the charge level and recharge if needed. Ensure the power switch is fully engaged and inspect the cables for damage.
How long does the Stanley 450 Amp Jump Starter take to fully charge?
The Stanley 450 Amp Jump Starter typically takes 24-48 hours to fully charge via the included AC adapter. Always charge it after use to maintain battery health.
Can the Stanley 450 Amp Jump Starter be used in extreme temperatures?
The Stanley 450 Amp Jump Starter works best between 32°F and 104°F (0°C to 40°C). Avoid using or storing it in extreme cold or heat to prevent battery damage.
Does the Stanley 450 Amp Jump Starter have safety features to prevent reverse polarity?
Yes, this model includes reverse polarity protection. An alarm will sound if clamps are connected incorrectly, preventing damage to the unit or vehicle.
Where can I find the complete Stanley 450 Amp Jump Starter instruction manual?
The official instruction manual is available on Stanley’s website or by scanning the QR code included with your device. It provides detailed guidance on operation, maintenance, and troubleshooting.