
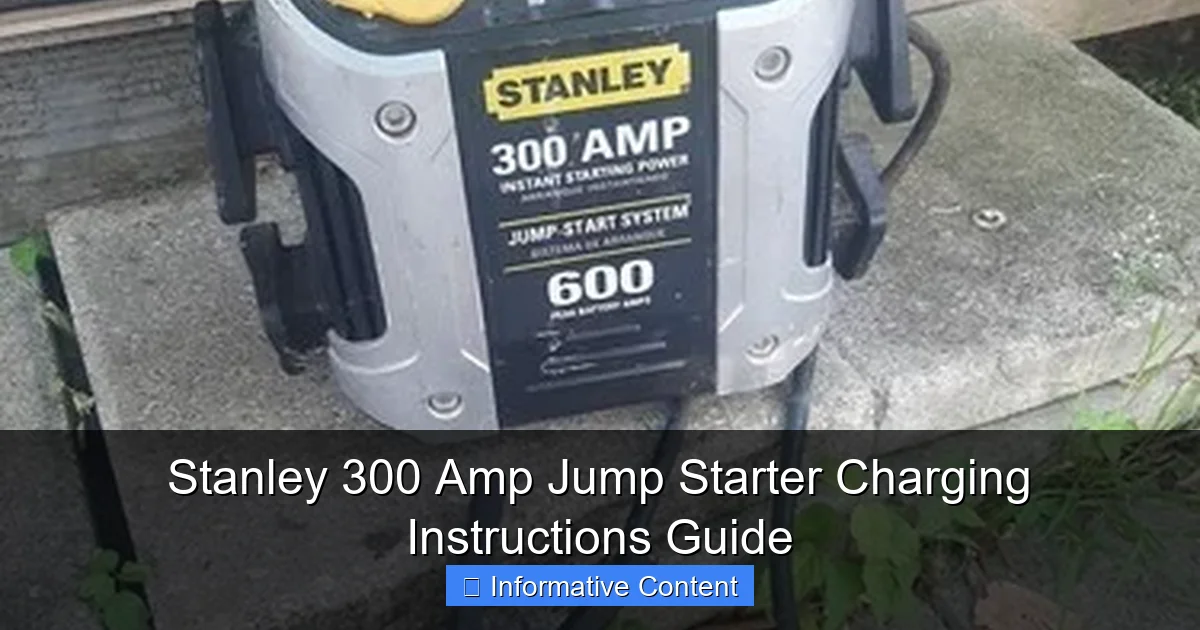
Featured image for stanley 300 amp jump starter charging instructions
Image source: i.ebayimg.com
Charge your Stanley 300 Amp Jump Starter using the included AC adapter or 12V DC car charger—always ensure the unit is powered off during charging to maximize battery life and safety. A full charge typically takes 24–48 hours, indicated by a solid green LED light. Never leave the jump starter charging unattended or in extreme temperatures to prevent damage and ensure peak performance.
Key Takeaways
- Charge fully before first use: Ensure 24-hour initial charge for peak performance.
- Use the right cable: Always connect via included heavy-duty clamps and cables.
- Check battery level: Monitor LED indicators to confirm charging progress.
- Jump-start safely: Connect red to positive, black to ground—never reverse polarity.
- Recharge after use: Replenish within 30 days to maintain battery health.
- Avoid overcharging: Unplug once fully charged to extend battery lifespan.
📑 Table of Contents
- Why Your Stanley 300 Amp Jump Starter Needs Proper Charging
- Understanding Your Stanley 300 Amp Jump Starter: Key Features and Specs
- Step-by-Step Charging Instructions for the Stanley 300 Amp
- Common Charging Mistakes and How to Avoid Them
- Maintenance Tips to Extend Your Jump Starter’s Lifespan
- Data Table: Charging Times and Specifications
- Final Thoughts: Charge Smart, Stay Prepared
Why Your Stanley 300 Amp Jump Starter Needs Proper Charging
Let me share a story. A few years ago, I was stuck on the side of a rural road at dusk. My old truck’s engine wouldn’t turn over, and my phone was at 5%. I fumbled with my Stanley 300 amp jump starter, only to find it wouldn’t power on. The battery was dead—not just the car’s, but the jump starter’s too. That night, I learned a hard lesson: even the most reliable tools are useless if not maintained. The Stanley 300 amp jump starter is a lifesaver, but only if you charge it properly. It’s not just about plugging it in; it’s about understanding the charging cycle, timing, and care that keep it ready when you need it most.
This guide walks you through everything you need to know to keep your Stanley 300 amp jump starter in peak condition. Whether you’re a weekend warrior, a DIY mechanic, or someone who just wants peace of mind, proper charging ensures your device is always ready to jump-start a car, power tools, or charge your phone in emergencies. We’ll cover the basics, advanced tips, and common pitfalls—so you never get stranded again.
Understanding Your Stanley 300 Amp Jump Starter: Key Features and Specs
Before diving into charging, let’s get to know your device. The Stanley 300 amp jump starter (often labeled as the Stanley J309 or similar model) is a compact, portable powerhouse. It’s not just a jump starter; it’s a multi-tool with a built-in battery, air compressor, USB ports, and LED lights. But the heart of the device is its rechargeable lithium-ion or lead-acid battery, depending on the model. Knowing your battery type is crucial—it affects charging time, maintenance, and longevity.

Visual guide about stanley 300 amp jump starter charging instructions
Image source: mskasolutions.com
Battery Types and Their Charging Needs
The Stanley 300 amp jump starter typically uses one of two battery types:
- Lithium-ion: Found in newer models. Lightweight, holds charge longer, and charges faster. Requires a specific charging protocol to avoid overheating.
- Lead-acid (AGM): Found in older models. Heavier but more tolerant of overcharging. Needs regular top-ups to prevent sulfation (a process where lead sulfate crystals form, reducing capacity).
For example, if your jump starter has a lithium-ion battery, you’ll need to follow a “trickle charge” method to avoid damaging the cells. Lead-acid models can handle a bit more flexibility but still require attention to voltage levels. Always check your manual to confirm your battery type—don’t assume!
Key Specifications to Know
Here’s a quick rundown of specs that matter for charging:
- Voltage: Typically 12V, but some models have 12V/24V options for larger vehicles.
- Capacity: Measured in milliamp-hours (mAh). A higher mAh means longer runtime between charges (e.g., 18,000 mAh vs. 12,000 mAh).
- Charging Port: Look for a DC input (usually a barrel plug) and USB outputs. Some models have a dedicated AC adapter, while others use a 12V car charger.
Pro tip: Write down your model number and battery type on a sticky note and stick it to the jump starter. This saves time when troubleshooting or ordering replacement parts.
Step-by-Step Charging Instructions for the Stanley 300 Amp
Charging your Stanley 300 amp jump starter is straightforward, but skipping steps can shorten its lifespan. Here’s how to do it right, whether you’re using an AC outlet, a car’s 12V socket, or a solar charger (yes, that’s possible with adapters).
Using the AC Wall Charger (Most Common Method)
This is the go-to method for home charging. Follow these steps:
- Locate the charging port: Usually a small DC jack on the side or back of the device. It might be labeled “IN” or have a battery icon.
- Plug in the adapter: Use the original Stanley charger (or a compatible one with matching voltage and polarity). Never force the plug—align the connector correctly.
- Check the LED indicators: Most models have a red LED for charging and a green LED for “fully charged.” A flashing light might indicate an error (more on troubleshooting later).
- Wait for completion: Charging time varies:
- Lithium-ion: 3–6 hours for a full charge.
- Lead-acid: 8–12 hours (can sometimes take longer if deeply discharged).
- Unplug once fully charged: Leaving it plugged in after the green light appears is usually safe (modern chargers have overcharge protection), but it’s good practice to unplug to preserve battery health.
Real-world example: I charge my Stanley overnight, unplugging it at 6 AM. The green light comes on around 4:30 AM, so it’s ready for my commute. No stress, no guesswork.
Charging in Your Car with a 12V Socket
Need a quick top-up while on the road? Use your car’s 12V socket (cigarette lighter). Here’s how:
- Turn the car’s ignition to “ACC” or “ON” (not “START”) to power the socket.
- Connect the 12V car charger (included with most Stanley kits) to the jump starter’s DC port.
- Monitor the LEDs: A steady red means charging. If it flashes red, check the car’s voltage—some older vehicles have unstable 12V outputs.
- Charging time: Expect 5–8 hours for a full charge. This method is slower than AC but great for emergencies.
Tip: Don’t run the car’s engine while charging. The jump starter’s charger is designed for a stable 12V supply. Engine fluctuations can damage the device.
Solar Charging (For Off-Grid Enthusiasts)
Yes, you can charge your Stanley with solar panels! Use a 12V solar charger with a DC output. Connect it to the jump starter’s DC port. Charging time depends on panel wattage (e.g., a 50W panel might take 10–12 hours). This is ideal for camping or emergencies where AC power isn’t available.
Warning: Avoid cheap solar chargers. They often lack voltage regulation, which can overcharge and ruin your battery. Invest in a quality solar charger with a built-in charge controller.
Common Charging Mistakes and How to Avoid Them
Even simple tasks like charging can go wrong. Here are the top mistakes I’ve made (and seen others make)—and how to fix them.
Overcharging: The Silent Battery Killer
Leaving your Stanley plugged in for days might seem harmless, but it’s not. Lithium-ion batteries degrade faster when kept at 100% charge for extended periods. Lead-acid batteries can overheat or leak if overcharged.
Solution: Unplug the charger once the green light appears. If you must store it long-term, charge to 50% and recharge monthly. Most Stanley models have built-in protection, but it’s not foolproof.
Using the Wrong Charger
I once used a random 12V charger from an old laptop. The Stanley’s LED flashed red, and it wouldn’t charge. Why? The voltage was slightly off (12.6V vs. the required 12V), and the plug polarity was reversed.
Solution: Always use the original charger or a verified compatible one. Check the specs on the charger’s label:
- Voltage: Must match (usually 12V).
- Current (Amps): Higher is faster, but never exceed the manufacturer’s recommendation.
- Polarity: The center pin should be “positive” (+). A “center-negative” plug will damage the device.
Charging in Extreme Temperatures
Batteries hate heat and cold. Charging a lithium-ion jump starter in direct sunlight or a freezing garage can reduce its capacity or cause failure.
Solution: Charge indoors, at room temperature (65°F–75°F or 18°C–24°C). If your device was in extreme conditions, let it acclimate for 30 minutes before charging.
Ignoring the “Low Battery” Warning
Many Stanley models have a low-battery indicator (a flashing red LED). Ignoring it can lead to a deeply discharged battery, which is harder to recharge and may require a “recovery” cycle.
Solution: Recharge at the first sign of low power. If the battery is completely dead, leave it plugged in for 30 minutes—sometimes the charger needs time to “wake up” the cells.
Maintenance Tips to Extend Your Jump Starter’s Lifespan
Charging is just one part of the puzzle. Proper maintenance ensures your Stanley 300 amp stays reliable for years. Think of it like caring for a car—regular upkeep prevents breakdowns.
Regular Use and Storage Best Practices
- Monthly top-ups: Even if unused, recharge your jump starter every 30 days. Lithium-ion batteries self-discharge, and lead-acid batteries suffer from sulfation.
- Store in a cool, dry place: Humidity and heat degrade components. A garage with temperature swings isn’t ideal. A closet or drawer works better.
- Keep terminals clean: Use a cotton swab and rubbing alcohol to wipe the DC port and USB ports. Corrosion can block charging.
Example: My neighbor stored his jump starter in a damp shed. After six months, the battery wouldn’t hold a charge. A simple wipe and recharge fixed it—but it could’ve been avoided.
Testing and Calibration
Your Stanley’s battery meter might not be 100% accurate. Over time, it can “drift,” showing 50% charge when it’s actually 30%.
Solution: Perform a calibration every 6 months:
- Fully charge the device.
- Use it until the low-battery warning appears (e.g., jump-start a car or run the air compressor).
- Recharge immediately. This “full cycle” recalibrates the battery meter.
Replacing the Battery (When It’s Time)
No battery lasts forever. Signs your Stanley needs a new battery:
- Charging takes much longer than usual.
- It holds less charge (e.g., used to jump-start 3 cars, now only 1).
- Swelling or unusual heat during charging.
Replacement batteries are available online. Follow the manual’s instructions carefully—some models require soldering. If you’re not comfortable, contact Stanley support.
Data Table: Charging Times and Specifications
| Charging Method | Battery Type | Average Time (Full Charge) | Voltage Required | Notes |
|---|---|---|---|---|
| AC Wall Charger | Lithium-ion | 3–6 hours | 12V DC | Fastest method. Use original charger. |
| AC Wall Charger | Lead-acid | 8–12 hours | 12V DC | May require trickle charging for deep discharge. |
| 12V Car Socket | Lithium-ion | 5–8 hours | 12V DC | Slower but convenient for road trips. |
| 12V Car Socket | Lead-acid | 10–14 hours | 12V DC | Monitor for overheating. |
| Solar Charger (50W) | Lithium-ion | 10–12 hours | 12V DC | Requires charge controller. Ideal for off-grid. |
Final Thoughts: Charge Smart, Stay Prepared
Your Stanley 300 amp jump starter is more than a tool—it’s an insurance policy against being stranded. But like all insurance, it only works if you maintain it. Proper charging isn’t complicated, but it does require consistency. Think of it as a habit: charge it after every use, top it up monthly, and keep it clean and dry.
Remember that night I got stuck? After that, I started charging my Stanley every month, even if I hadn’t used it. I’ve never been stranded again. Whether you’re charging at home, in your car, or under the sun, these instructions will keep your device ready for action. So plug it in, follow the steps, and drive with confidence—knowing your Stanley has your back.
One last tip: Pair your jump starter with a battery maintainer for your car. Together, they create a foolproof system. Stay safe, stay charged, and happy travels!
Frequently Asked Questions
How do I charge my Stanley 300 Amp jump starter for the first time?
For the first charge, plug the included AC adapter into the jump starter’s input port and a wall outlet. Allow it to charge for at least 24-48 hours to reach full capacity, as recommended in the Stanley 300 Amp jump starter charging instructions.
How long does it take to fully charge the Stanley 300 Amp jump starter?
A full charge typically takes 24-48 hours using the AC adapter. The LED indicator will turn solid green when the battery is fully charged and ready for use.
Can I use a car charger or USB port to charge my Stanley 300 Amp jump starter?
No, the Stanley 300 Amp model only supports charging via the included AC adapter. Using other power sources, like a 12V car socket or USB, may damage the device or void the warranty.
What do the LED indicator lights mean during charging?
The blinking red light indicates active charging, while a solid green light means the unit is fully charged. Refer to the Stanley 300 Amp jump starter charging instructions for troubleshooting if lights behave unexpectedly.
Is it safe to leave the jump starter charging overnight?
Yes, the Stanley 300 Amp has built-in overcharge protection, so it’s safe to charge overnight. However, avoid prolonged charging beyond 48 hours to maximize battery lifespan.
Why isn’t my Stanley 300 Amp jump starter holding a charge?
If the unit fails to hold a charge, ensure the AC adapter is securely connected and the outlet is functional. For persistent issues, contact Stanley support—battery degradation may require professional service.