
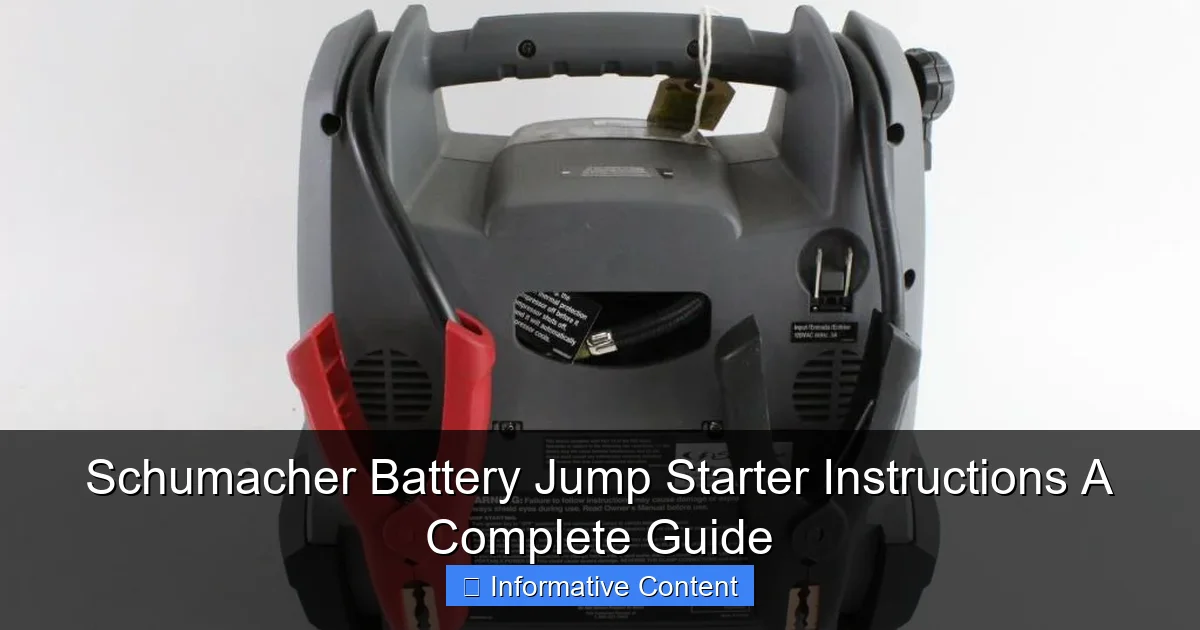
Featured image for schumacher battery jump starter instructions
Image source: content.propertyroom.com
Master your Schumacher battery jump starter with these simple, step-by-step instructions to safely jump-start your vehicle in minutes—no prior experience needed. From proper cable connections to safety precautions and troubleshooting tips, this guide ensures reliable performance every time, even in extreme conditions.
Key Takeaways
- Always read the manual first: Understand safety warnings and model-specific steps before use.
- Check battery charge level: Ensure the jump starter is fully charged for reliable performance.
- Connect clamps properly: Attach red to positive (+), black to negative (-) to avoid sparks.
- Power on after connection: Turn on the jump starter only after clamps are securely attached.
- Start the vehicle immediately: Crank the engine within 30 seconds to prevent overheating.
- Disconnect in reverse order: Remove black first, then red after the engine runs.
- Recharge after each use: Maintain battery health by recharging promptly post-jump.
📑 Table of Contents
- Why a Schumacher Battery Jump Starter Might Be Your Best Roadside Buddy
- Understanding Your Schumacher Battery Jump Starter
- Step-by-Step Schumacher Battery Jump Starter Instructions
- Common Mistakes and How to Avoid Them
- Maintenance Tips to Extend Your Jump Starter’s Lifespan
- Real-World Scenarios: When and How to Use Your Schumacher Jump Starter
- Comparison of Popular Schumacher Models
- Final Thoughts: Your Reliable Partner on the Road
Why a Schumacher Battery Jump Starter Might Be Your Best Roadside Buddy
We’ve all been there—rushing out the door, late for work or an important meeting, only to turn the key and hear that dreaded click… click… click. A dead battery can strike at the worst possible moment, leaving you stranded and stressed. But what if I told you there’s a tool that could turn that panic into peace of mind? Enter the Schumacher battery jump starter.
Unlike traditional jumper cables that require another vehicle, a Schumacher jump starter is a portable, self-contained power bank designed to revive your car, truck, or SUV battery in minutes. No need to flag down a stranger or wait for roadside assistance. Just grab your Schumacher jump starter, follow a few simple steps, and you’re back on the road. Whether you’re dealing with a cold-weather start, a forgotten interior light, or a battery that’s seen better days, these units are built to handle the job. And the best part? They’re not just for cars—many models can also charge phones, tablets, and even power small electronics in a pinch.
Understanding Your Schumacher Battery Jump Starter
Before you jump into using your Schumacher jump starter, it helps to know what you’re working with. These devices come in various models—some compact and lightweight, others beefier with extra features—but they all share the same core purpose: to deliver a high-current burst to start your engine.
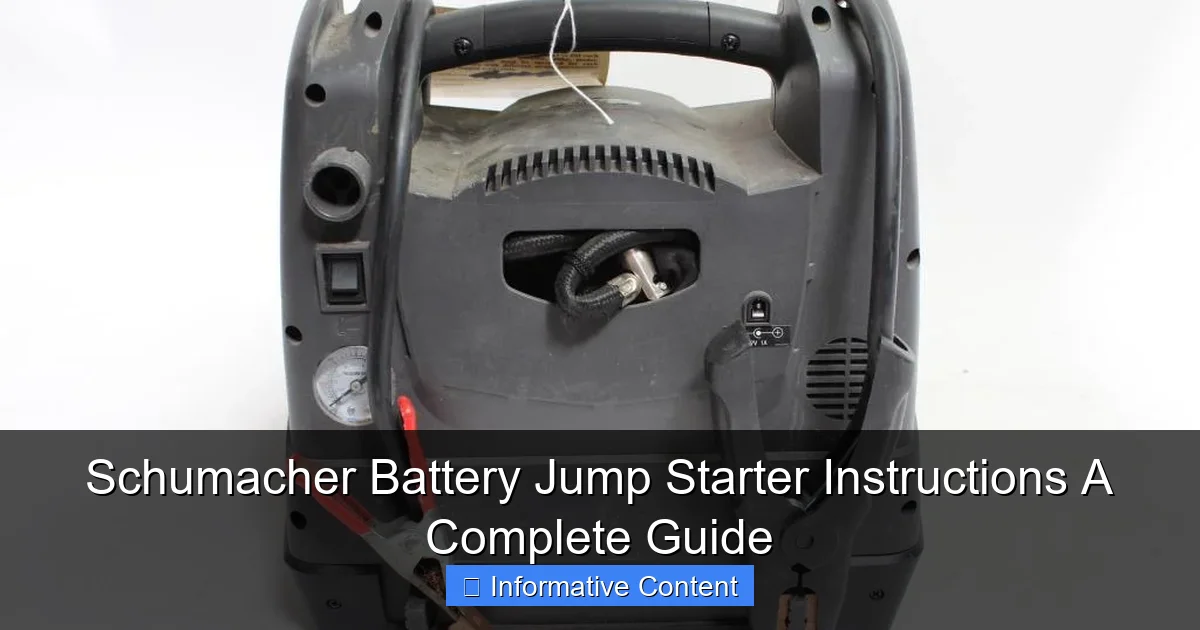
Visual guide about schumacher battery jump starter instructions
Image source: content.propertyroom.com
Key Components and Features
- Jump Start Cables: Attached to the unit, these heavy-duty clamps connect to your battery terminals. Red is positive (+), black is negative (−). Always double-check the color coding—mismatched connections can damage your vehicle’s electrical system.
- Power Switch/Button: Most Schumacher models have an on/off switch or a dedicated jump start button. Some newer models include smart technology that detects when clamps are connected correctly.
- LED Indicators: These lights show battery level, charging status, and error warnings. A green light often means “ready to go,” while red or flashing lights may indicate low charge or a connection issue.
- USB Ports and 12V Outlet: Many Schumacher jump starters double as portable power banks. You can charge your phone, tablet, or even run a small air compressor using the 12V socket.
- Safety Features: Look for built-in protections like reverse polarity, over-current, and short-circuit prevention. These are essential for avoiding sparks or damage.
For example, the Schumacher DSR127 is a popular mid-range model with 1200 peak amps, a built-in LED flashlight, and dual USB ports. It’s perfect for everyday drivers who want reliability without the bulk of industrial-grade units.
Types of Schumacher Jump Starters
Schumacher offers several categories of jump starters, each suited to different needs:
- Portable Lithium-Ion (e.g., SL1314, SL1317): Lightweight, compact, and ideal for cars and small SUVs. Great for keeping in your glovebox or trunk. These typically range from 600 to 1200 peak amps.
- High-Capacity Lithium (e.g., DSR127, DSR131): More powerful (1500+ peak amps), with larger battery capacity. Suitable for trucks, vans, and diesel engines.
- Traditional Lead-Acid (e.g., SJ1327): Heavier but often more affordable. Best for home garages or infrequent use. Requires occasional recharging even when not used.
Pro tip: If you drive a small sedan or hatchback, a lithium-ion model is likely sufficient. But if you own a pickup, SUV, or work with heavy machinery, go for the high-capacity or lead-acid versions. Always check your vehicle’s battery specifications before choosing.
Step-by-Step Schumacher Battery Jump Starter Instructions
Using a Schumacher jump starter is straightforward, but skipping steps or rushing can lead to mistakes. Let’s walk through the process carefully, just like I did the first time I used mine after a long winter night left my car silent.
Step 1: Prepare the Vehicle and Jump Starter
First, park your vehicle on a flat, safe surface—away from traffic. Turn off the engine, headlights, radio, and any other electronics. Remove the keys from the ignition to prevent accidental starting. Then, locate your battery. In most cars, it’s under the hood, but in some models (like certain Toyotas or Hondas), it might be in the trunk or under the rear seat.
Next, grab your Schumacher jump starter. Make sure it’s charged—ideally at least 75% full. If it’s been sitting unused for weeks, plug it in for a quick top-up. A dead jump starter is about as useful as a paperweight!
Step 2: Connect the Cables Correctly
This is where many people get nervous—but don’t worry, it’s simple:
- Open the hood and locate the battery terminals. Clean off any corrosion or dirt with a dry cloth or wire brush.
- Attach the red (positive) clamp to the positive terminal of the dead battery. It’s usually marked with a “+” sign and may have a red plastic cover.
- Attach the black (negative) clamp to a ground point on the engine block or chassis. Never connect it directly to the negative battery terminal. Why? To avoid sparks near the battery, which can ignite hydrogen gas.
Real-life tip: I once connected the black clamp to the negative terminal by mistake. Nothing exploded (thanks to safety features), but the unit flashed a warning and wouldn’t start. Lesson learned—always ground to the engine block!
Step 3: Power On and Start the Engine
Now, turn on your Schumacher jump starter. Some models automatically activate when clamps are connected. Others have a power button—press it once.
Wait a few seconds. You might hear a faint hum or see the LED lights stabilize. Then, turn the key in your ignition. The engine should crank and start within a few seconds. If it doesn’t start on the first try, wait 30 seconds and try again. Most Schumacher units allow multiple attempts, but avoid cranking for more than 10 seconds at a time to prevent overheating.
Step 4: Disconnect in Reverse Order
Once your engine is running, disconnect the cables in reverse order:
- Remove the black clamp from the ground point.
- Remove the red clamp from the positive terminal.
- Turn off the jump starter and store it safely.
Let your engine run for at least 15–20 minutes to recharge the battery. If you shut it off immediately, the battery may not have enough charge to start again.
Step 5: Recharge Your Jump Starter
After use, plug your Schumacher unit into a wall charger or 12V car outlet. Most models take 3–5 hours to fully recharge. Don’t leave it plugged in overnight—overcharging can reduce battery lifespan.
Bonus tip: Keep a charging log in your glovebox. I use a sticky note to mark when I last charged mine. It’s saved me twice when I thought it was full but was actually at 20%!
Common Mistakes and How to Avoid Them
Even with clear Schumacher battery jump starter instructions, things can go wrong. Here are the most common pitfalls—and how to steer clear of them.
Incorrect Clamp Connection
Connecting the black clamp to the negative terminal is a classic mistake. It might seem logical, but it increases the risk of sparks near flammable hydrogen gas. Always use a clean metal ground point on the engine block. If the engine is dirty, scrape off paint or rust to ensure a good connection.
Example: A friend of mine once tried to start his truck in a snowy parking lot. He connected the black clamp to the battery’s negative terminal. The jump starter flashed red and shut down. After checking the manual, he realized his error and grounded it to the alternator bracket instead. Success!
Using a Low-Charge Jump Starter
You wouldn’t try to start a car with a dead battery using another dead battery. The same applies here. If your Schumacher unit is below 50%, it might not deliver enough power. Always check the LED battery indicator before use. If it’s flashing or showing red, recharge first.
Some models have a “low charge” mode that still works for small engines (e.g., motorcycles), but it’s unreliable for larger vehicles.
Cranking Too Long
Holding the ignition for 15+ seconds can overheat the jump starter’s internal components. Most Schumacher units have thermal protection, but repeated overuse can shorten their lifespan. If the engine doesn’t start within 10 seconds, pause for 30 seconds. Try again up to three times. If it still won’t start, the issue might be more than just a weak battery—like a faulty starter motor or alternator.
Ignoring Safety Features
Schumacher jump starters come with built-in safeguards. If you see flashing lights, error codes, or no response, don’t force it. Consult the manual. For instance, the SL1314 flashes a “REV” code if clamps are reversed. The fix? Disconnect, swap the clamps, and try again.
Storing Improperly
Leaving your jump starter in extreme heat (like a car dashboard in summer) or cold (a freezing garage) can damage the battery. Store it in a cool, dry place—ideally between 50°F and 77°F. I keep mine in a padded case in my trunk, away from direct sunlight.
Maintenance Tips to Extend Your Jump Starter’s Lifespan
Your Schumacher jump starter is an investment. With proper care, it can last 3–5 years or more. Here’s how to keep it in top shape.
Regular Charging Schedule
Even if you don’t use it, recharge your jump starter every 3 months. Lithium-ion batteries degrade when left in a discharged state. Set a reminder on your phone or calendar. I do mine every 90 days—like changing smoke detector batteries.
Clean the Clamps and Ports
Over time, dirt, grease, or battery corrosion can build up on the clamps. Wipe them with a dry cloth after each use. For stubborn grime, use a mild cleaner and a soft brush. Never submerge the unit in water.
Also, keep USB and charging ports dust-free. A can of compressed air works wonders.
Check for Firmware Updates (If Applicable)
Some newer Schumacher models (like the DSR131) have smart features that can be updated via USB. Check the manufacturer’s website periodically. Updates can improve performance or fix bugs.
Inspect for Physical Damage
Look for cracks, frayed cables, or loose connections. If you drop your unit, test it immediately. A damaged jump starter can be dangerous. Replace it if you spot any issues.
Use the Right Charger
Always use the charger that came with your Schumacher unit. Third-party chargers might not deliver the correct voltage or current, which can harm the battery. I learned this the hard way—my generic charger took twice as long and left the unit at 80% instead of 100%.
Real-World Scenarios: When and How to Use Your Schumacher Jump Starter
Let’s put theory into practice. Here are common situations where your jump starter shines—and how to handle them.
Cold Weather Jump Start
Batteries lose power in cold weather. If your car won’t start on a freezing morning, your Schumacher unit can save the day. But remember: cold reduces battery efficiency. Pre-warm your jump starter indoors if possible. If not, keep it in the passenger seat (not the trunk) to minimize temperature shock.
Pro tip: Turn off all electronics (heater, radio, etc.) before starting. This reduces the load on the battery and jump starter.
Jump Starting a Diesel Engine
Diesel engines require more cranking power. Use a high-capacity Schumacher model (1500+ peak amps). The DSR127 is a popular choice. Connect as usual, but expect longer cranking time—up to 15 seconds. Wait 30 seconds between attempts.
Using as a Power Bank
Stuck on a road trip with a dead phone? Plug it into your Schumacher’s USB port. Most units can charge a smartphone 2–3 times on a full charge. For tablets or laptops, check the output specs (e.g., 2.4A vs. 1A).
I once used my SL1317 to power a portable cooler during a camping trip. It worked for 4 hours—enough to keep our drinks cold!
Emergency Roadside Assistance
If you’re stranded at night, use the built-in LED flashlight. Some models have strobe or SOS modes. I keep a reflective triangle in my trunk and place it 50 feet behind my car. The flashlight helps drivers see me from a distance.
Comparison of Popular Schumacher Models
| Model | Peak Amps | Battery Type | USB Ports | Special Features | Best For |
|---|---|---|---|---|---|
| SL1314 | 600 | Lithium-Ion | 1 (2.1A) | LED flashlight, reverse polarity protection | Compact cars, daily drivers |
| SL1317 | 1000 | Lithium-Ion | 2 (2.1A & 1A) | Digital display, air compressor (some variants) | SUVs, small trucks |
| DSR127 | 1200 | Lithium-Ion | 2 (2.4A each) | Smart clamps, 12V outlet, flashlight | Trucks, diesel engines |
| DSR131 | 1500 | Lithium-Ion | 2 (2.4A each) | Jump start button, USB-C port | Heavy-duty vehicles, frequent use |
| SJ1327 | 1000 | Lead-Acid | 1 (2.1A) | Built-in charger, heavy-duty clamps | Garage use, infrequent needs |
Final Thoughts: Your Reliable Partner on the Road
Owning a Schumacher battery jump starter isn’t just about convenience—it’s about confidence. It’s knowing that when your car won’t start, you’re not helpless. Whether it’s a cold winter morning, a forgotten interior light, or a long road trip with a drained phone, this tool has your back.
Remember, the key to success lies in preparation. Read the manual, charge regularly, and practice the steps before an emergency strikes. And when you do need it, follow the Schumacher battery jump starter instructions carefully—correct connections, proper grounding, and patience go a long way.
These units aren’t magic, but they’re close. They’re smart, safe, and surprisingly versatile. I’ve used mine for jump starts, phone charging, and even powering a tire inflator. It’s one of the few tools I keep in my car year-round—because you never know when you’ll need it.
So, whether you’re a new driver, a seasoned road warrior, or just someone who hates being stranded, a Schumacher jump starter is worth every penny. Keep it charged, keep it safe, and drive with peace of mind. Because the open road is better when you’re ready for anything.
Frequently Asked Questions
How do I use the Schumacher battery jump starter for the first time?
Before using your Schumacher battery jump starter, fully charge it using the included AC adapter or DC cable. Follow the Schumacher battery jump starter instructions to connect the clamps correctly—red to positive (+) and black to negative (−) terminals—and ensure the power switch is turned on.
Can I leave my Schumacher jump starter plugged in overnight?
Yes, most Schumacher jump starters have built-in overcharge protection, making it safe to charge overnight. However, always refer to your model’s manual to confirm this feature and avoid unnecessary wear on the battery.
Why won’t my Schumacher jump starter turn on?
If your device doesn’t power on, ensure it’s sufficiently charged and check for loose connections or damaged cables. Consult the Schumacher battery jump starter instructions for troubleshooting steps like resetting the unit or inspecting the internal fuse.
Is it safe to jump-start a car with a damaged battery?
No, attempting to jump-start a cracked, leaking, or frozen battery can be dangerous. Always inspect the battery for physical damage before use, and replace it if necessary to avoid sparks or explosions.
How long does a Schumacher jump starter hold its charge?
Most Schumacher models retain a charge for 3–6 months when stored properly. For best results, recharge the unit every 30–60 days, especially if not in regular use, as noted in the product manual.
Can I use my Schumacher jump starter in cold weather?
Yes, Schumacher jump starters perform well in cold temperatures, but extreme cold may reduce battery efficiency. Store the unit in a temperate environment and avoid using it below -4°F (-20°C), as recommended in the guidelines.